


Antique Cabinet Transformation

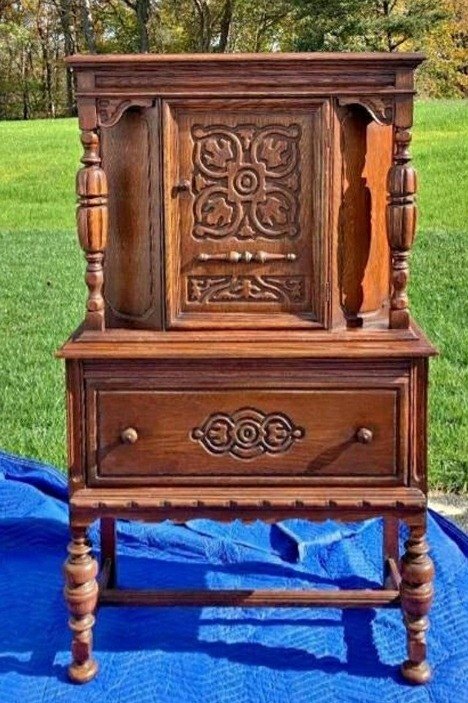
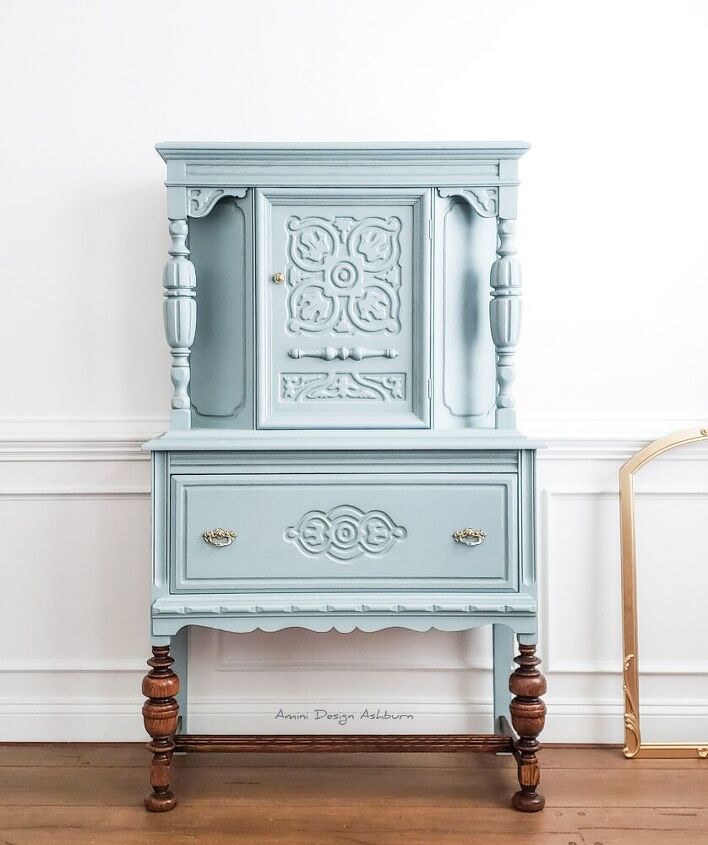
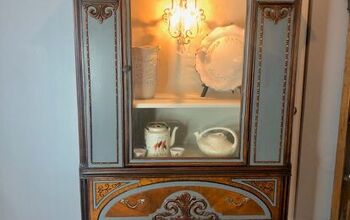
Took this well loved Jacobean style antique cabinet and transformed it for our clients new home with an updated look that better works for her space.
Best furniture cleaner!
These antique Jacobean style pieces are my favorite. Their feet, their exquisite attention to detail and overall statuesque look always grab my attention. This one was sourced for a client based on a previous transformation found in my Etsy shop. It had a lot of cosmetic issues and a lot of grime build up and an interior that needed a lot of love. We got to work on it first by cleaning with Krud Kutter, rinsing it then letting it dry. We then filled all gouges with Plastic Wood filler and let it dry.
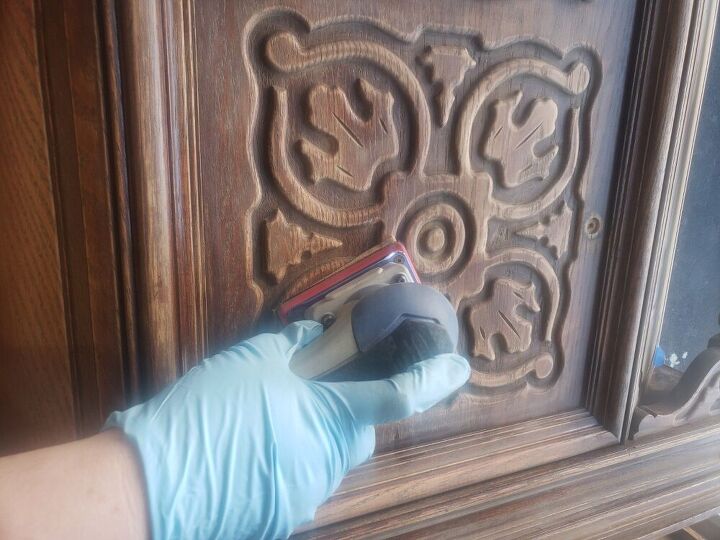
Once it was completely dry we used our 3 x 4 electric ray sander from Surfprep with a flexible foam pad to start roughing up the previous finish and smooth out the added filler. The foam pads allow me to get in those recessed areas without messing up the profile of the wood. This is one tool I can't do without!
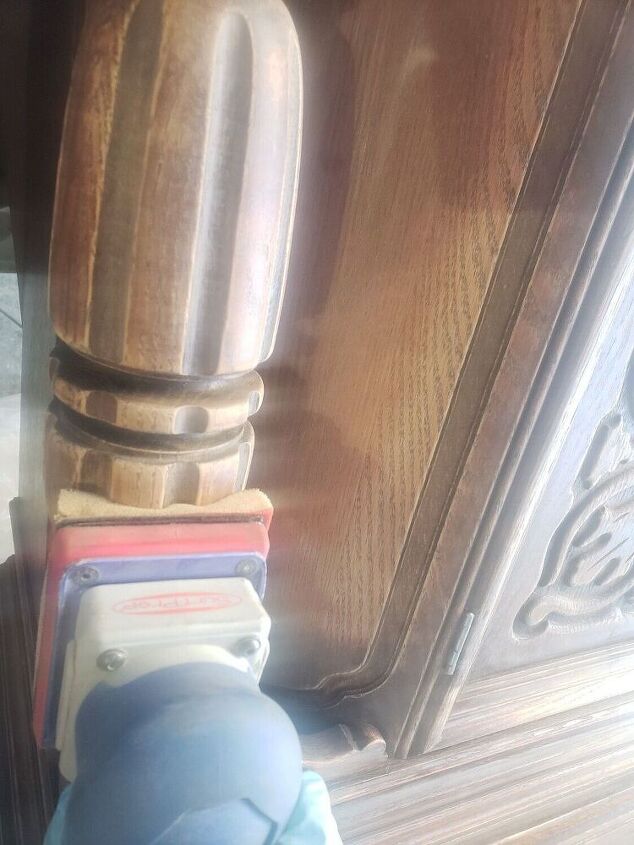
You can see it conforming to the shape of this quite nicely. You can use my code AMINI10 to save if you decide to get one for yourself over at surfprepsanding.com Anyhow, after sanding all the detailed areas, I switched to a flat sheet for the flat areas of the cabinet to ensure we were preparing the surface the best way possible for primer.
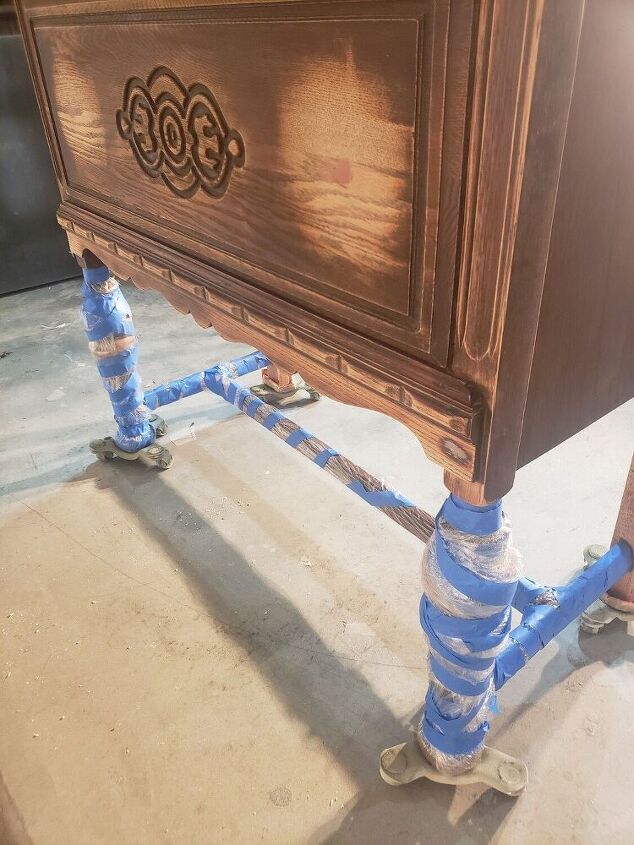
We then used 3m taped plastic to cover up the freshly sanded legs since they were going to be stained later on.
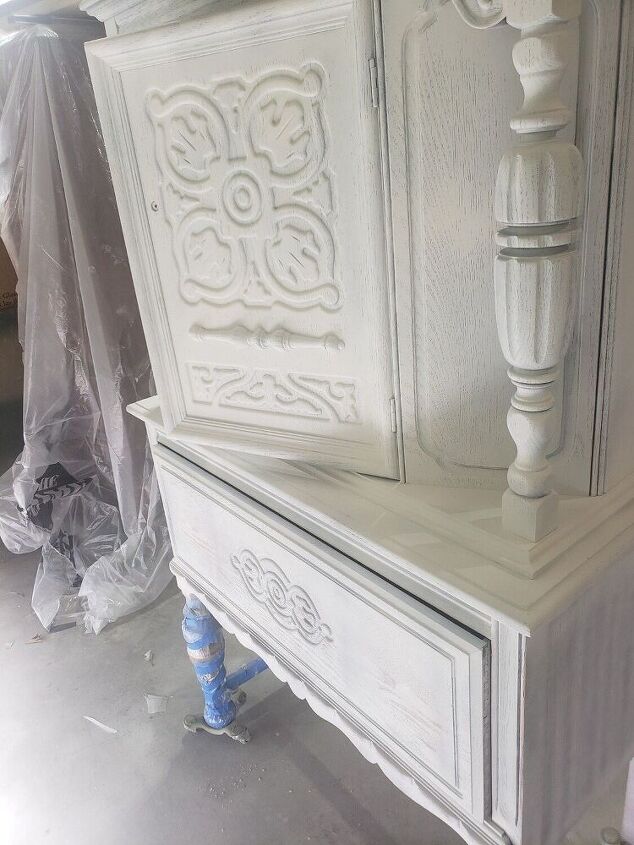
We then used BIN shellac based primer over the exterior and interior to prime the piece. This helps for better adhesion and prevents the bleeding through of tannins in the wood. There is nothing worse then applying your top coat and thinking you are done and then seeing pesky pink or brown spots appear. Then it's back to priming all over again. So to prevent that, it is always better to prime. We did two coats, lightly sanding in between each one with a superfine sanding pad.
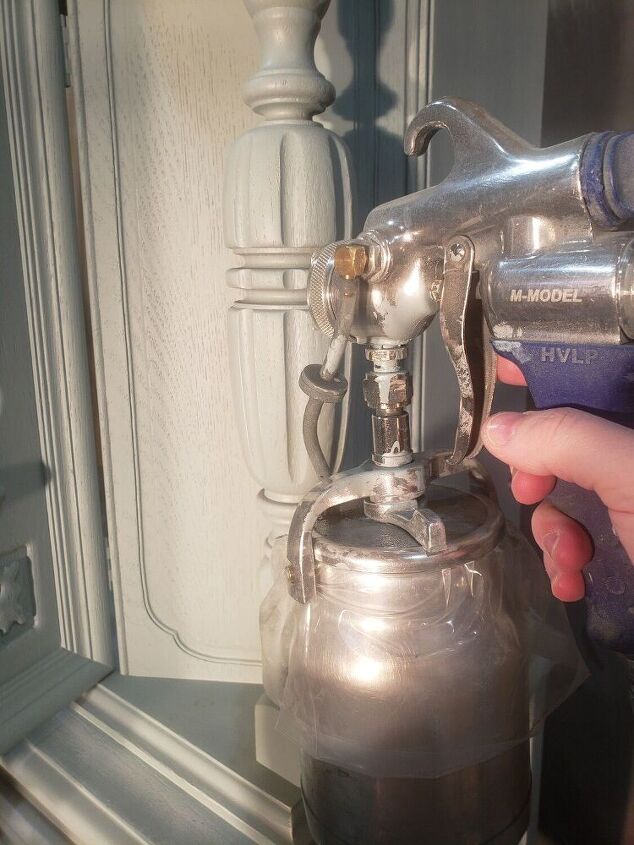
Here is our first coat of General Finishes Persian Blue. We sprayed two coats, lightly sanding in between each with 500 grit sandpaper. After letting the paint dry, we stained the legs using Antique Finishes Gel Stain. Then after waiting 72 hours we sealed the entire piece with High Performance Top Coat in Flat. Lastly, we put on antique hardware to finish the new look for our client.
To see more please visit us on Instagram for behind the scenes!
Resources for this project:
See all materials


Comments
Join the conversation
-
Looks nice. Personally unless furniture is in rough shape, I don't ever paint it.
-
Love the color, but I would have painted the legs too.


Frequently asked questions
Have a question about this project?
Beautiful - love the Persian Blue! Wondering how it would have looked with the top spindles unpainted?
How do I send a picture?
I have pressed board cabinets, can I use the crud mutter on them