


How To Build A Shadow Box Shelf With An Old Frame

If you’re a fan of wooden picture frame upcycles, I’ve got a great DIY for you! I built a shadow box shelf with an old frame and it looks amazing. It was a really cute way to decorate my wall with an antique and create an area to display some of my treasures. It only took a little bit of wood to do it and it was an easy beginner project. It wasn’t expensive to make and it could be free if you have a frame and some old wood on hand. Check out the step by step guide.
Supplies:
- Old Wooden Frame
- Wood For Shelves
- Paint
- Brushes
- Saw
- Drill
- Metal Corner Braces
- Screws
- Wood Glue
- Clamps
- Rags
- Gloves
- Drop Cloth
- Mask
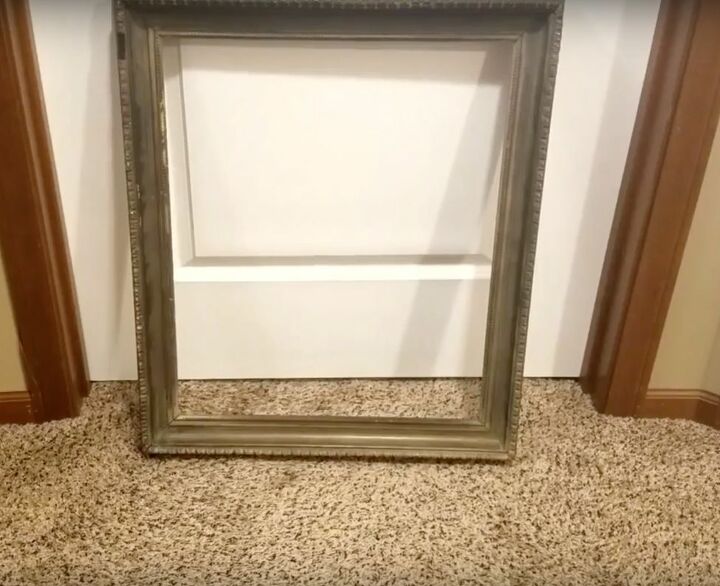
Step 1: Grab A Frame and Clean It Up
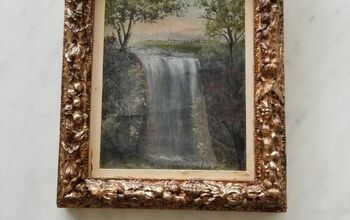
I started this project with a shopping trip. I went to the antique mall and picked up a decent sized, old wooden frame. I didn’t worry about the finish, because I knew I was going to paint it, but I did want one big enough to make a shelf to hold my larger decor accessories. Once home, I wiped it off with a damp rag and cleaned it up.
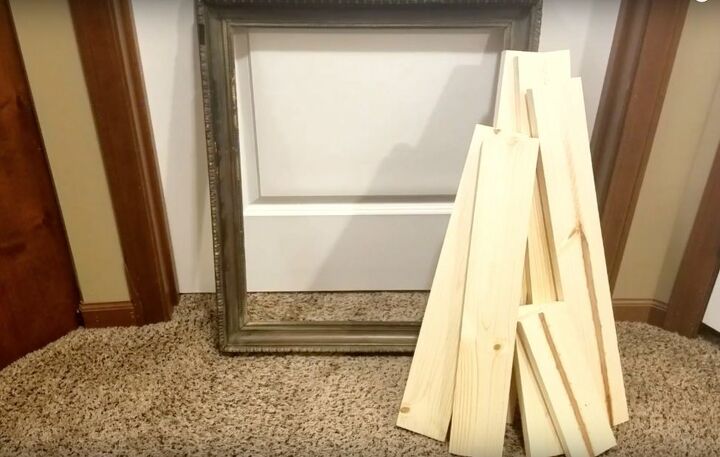
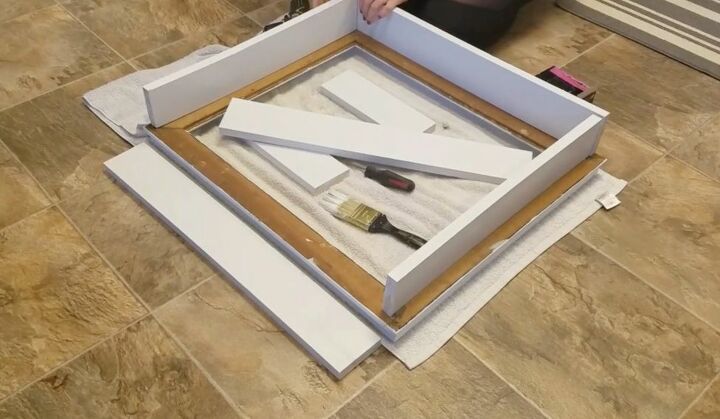
Step 2: Measure the Wood for Shelves
Now that I had my frame, it was time to measure and cut the wood. I used 1 x 4’s and cut them to the lengths necessary to form a box on the perimeter of the back of the frame. I also measured one long board to make a horizontal shelf and two smaller pieces to make a vertical separator, inside the box. Your lengths will vary based on your frame size. If you don’t want to cut the wood yourself, you can bring your measurements to a box home improvement store or lumber yard and they’ll cut it for you.
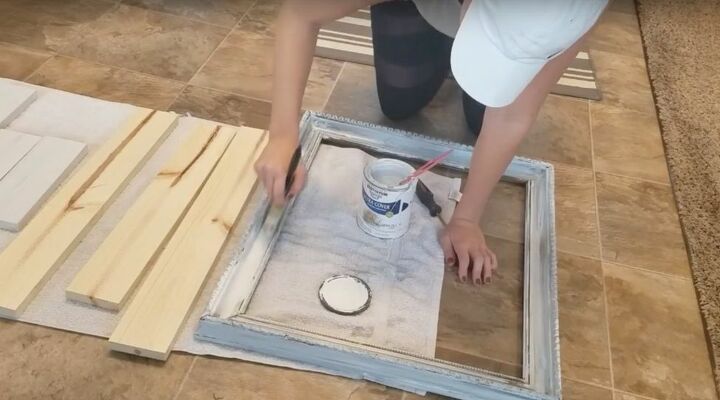
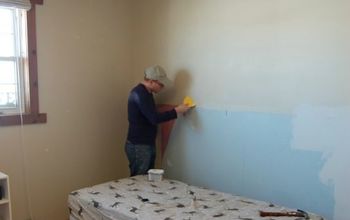
Step 3: Paint the Frame
Next up, I needed to make it all pretty. So I painted it. I started by painting the frame, using a high gloss white. I applied it with a brush and it took about four coats. I made sure to put down a drop cloth to protect my floors and I worked in a well-ventilated area, with a mask.
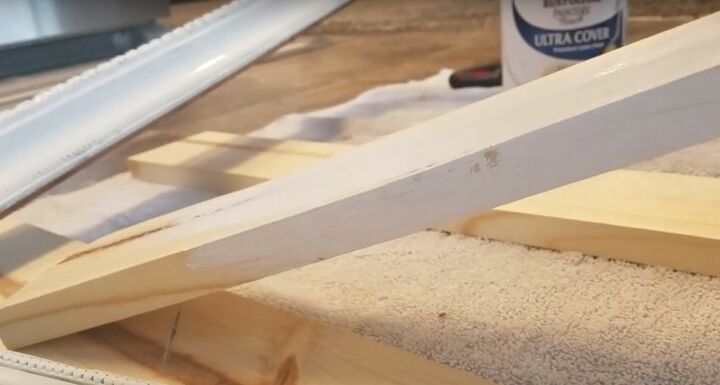
Step 4: Paint the Wood Shelves
To unify the piece, I painted the wood shelves, as well. I used the same high gloss white paint and applied it with a brush. The wood only took about two coats and since I like the rustic look, I didn’t prime it first. You could add that step if you want a more polished finish. However keep in mind that most of the box will be hidden behind the frame.
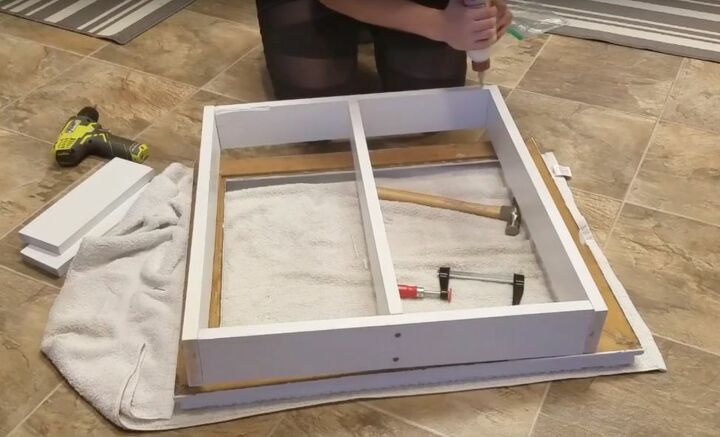
Step 5: Screw the Box Together
When all the painted pieces were dry, it was time to put my shelf together. I used screws to build my box. I connected the boards at the corners, using a drill and two screws. Then I added the interior horizontal shelf with screws, fastening it to the box I had just made.
Step 6: Attach the Box to The Frame
Next up, I had to connect my box to the picture frame. I decided the best way to do this would be to use wood glue. I applied the glue to the shelf and then placed the shelf on the backside of the frame. I clamped it into place, to hold it while it set, and then I let it sit overnight to dry.
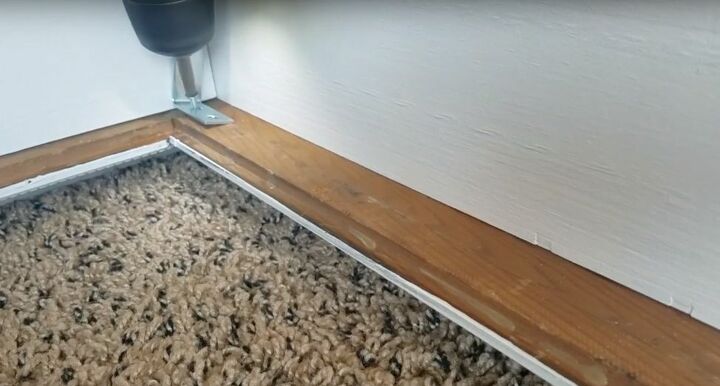
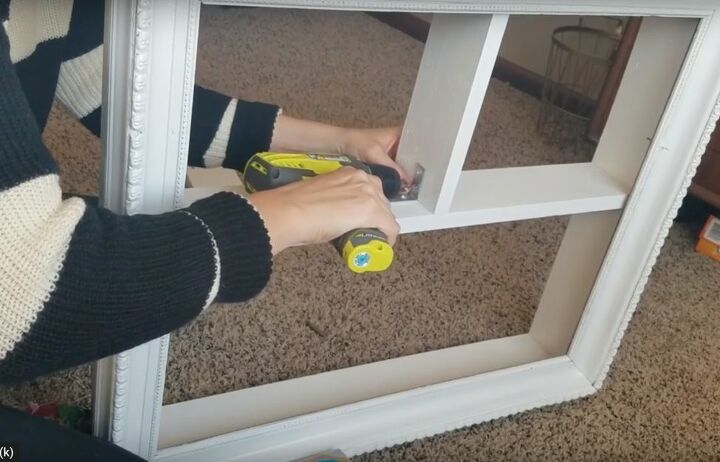
Step 7: Secure It with Braces
While I was pretty sure the glue would hold my shelf in place, I decided to add metal corner braces for extra strength. I screwed the braces into each corner, attaching one end to the box and the other to the back of the picture frame. I used the same braces to connect the two small vertical separators to the interior horizontal shelf.
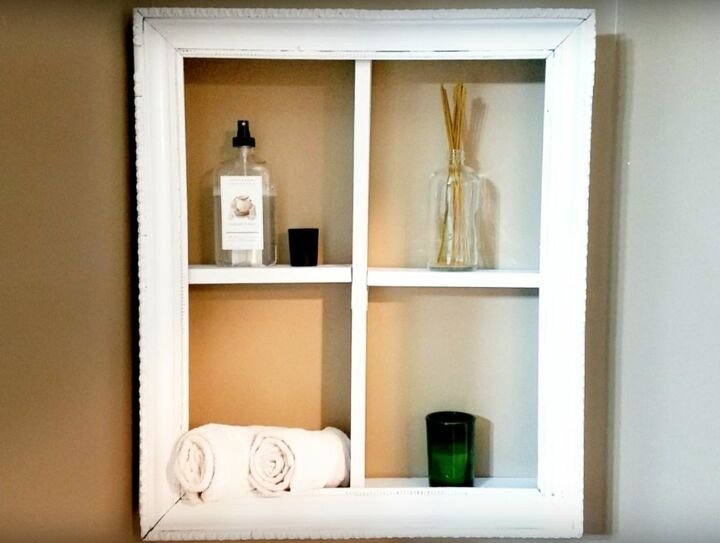
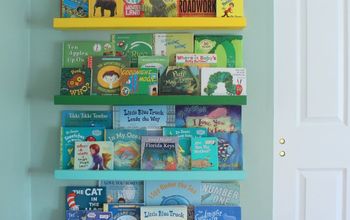
And there you have it, a beautiful shadow box shelf made from an old antique picture frame. It was a makeover and a small building project all in one. It was easy to do and, while I made a large shelf, this DIY can be customized to work with any size frame. Whip up a smaller version to display your tiny collectibles and a larger one for books or bottles. The options are endless and totally up to you!
Take a look at these 17 shadow box ideas and you will soon be making your own fun, stylish shadow boxes.


Comments
Join the conversation
-
Awesome, I love this, definitely on my to do list ❤️
-
Great idea! Suggestion.... if you cut the two crossbars snuggly, they could be glued in, thus eliminating the L - brackets. The glue would be strong enough to hold bric-a-brac.


Frequently asked questions
Have a question about this project?
What did you put on the back to hang it? Or do you just set it on something?