


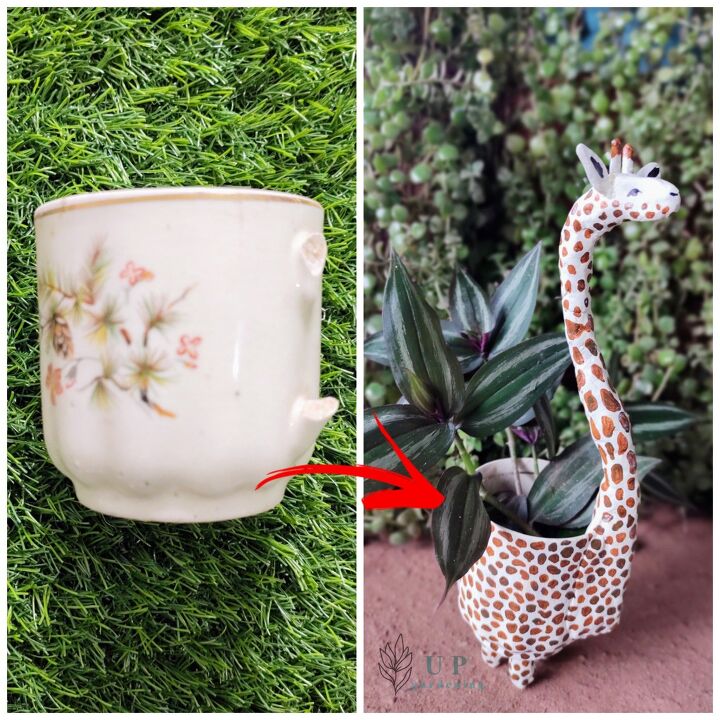
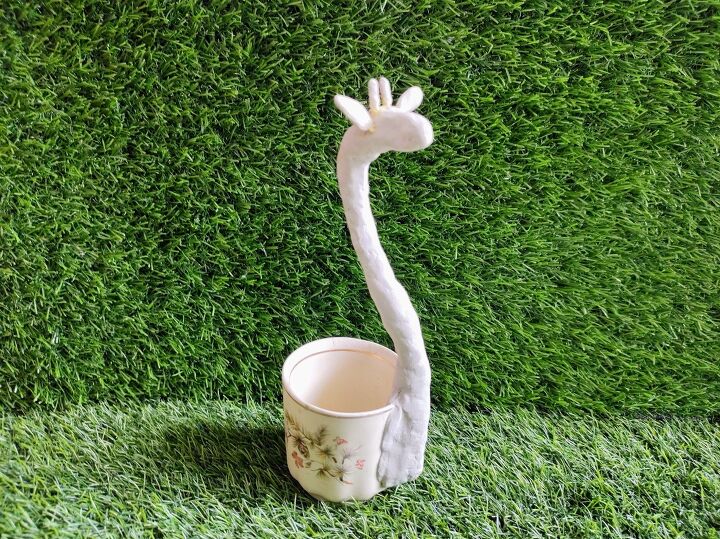
DIY Giraffe Planter Using Broken Cup

One of the easiest way to decorate your indoor space on a budget is to create DIY crafts. Upcycling reduces the amount of waste that gets to the landfills. Using this waste into something creative, not only helps the environment to reduce it's waste, but also helps us to be a little more creative in using our ideas to beautify our house. Here I'm making DIY Giraffe Planter 🦒 hope you'll will like it!!!
Watch the video for step by step tutorial
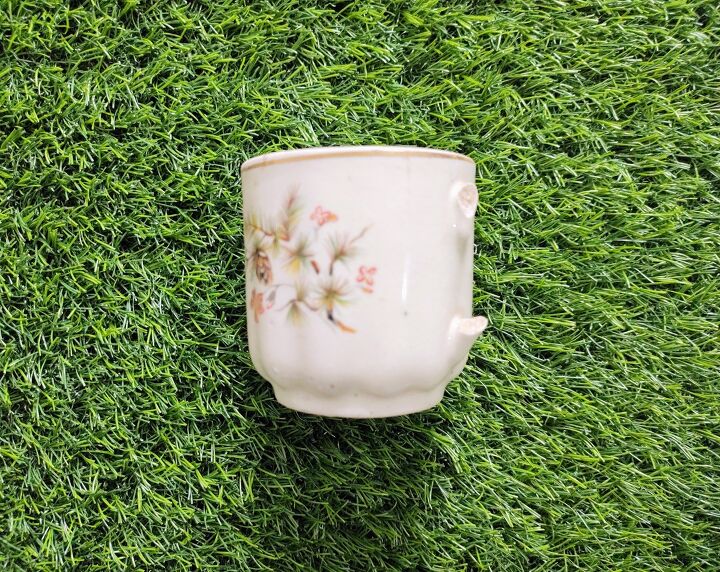
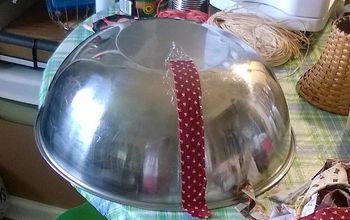
Step 1: Take any cup of a broken handle if you'll don't have can also use container similar in shape. Make sure the cup is clean and dry.
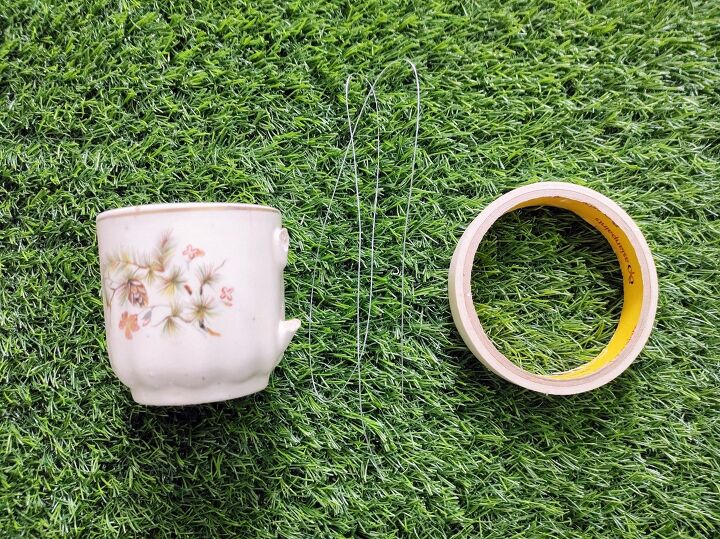
Step 2: Take a wire and a paper tape.
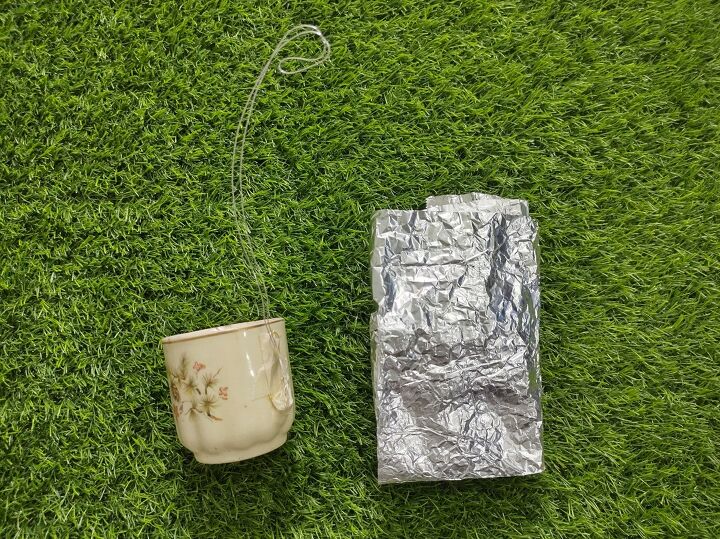
Step 3: Place the wire as shown and apply some paper tape over it as shown so that it doesn't move. And wrap aluminium foil for the wire as shown below.
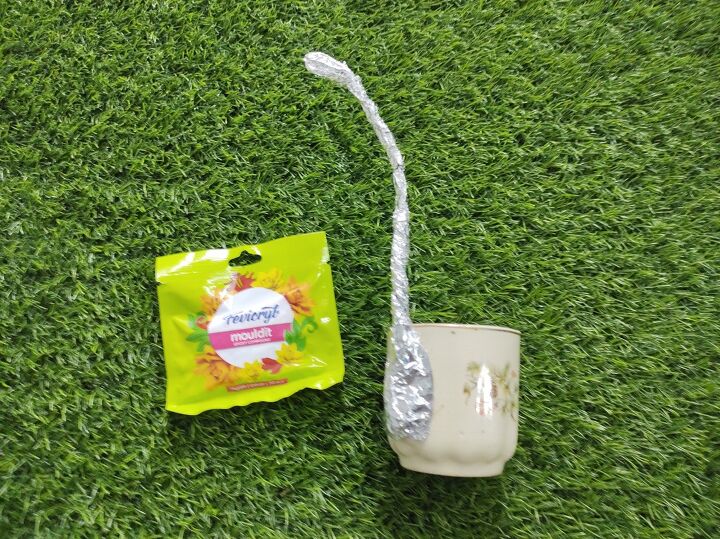
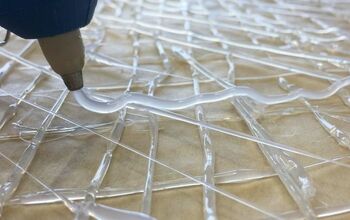
Step 4: After wrapping the aluminium foil for the wire apply mouldit ( air dry clay) for the aluminium foil as shown below.
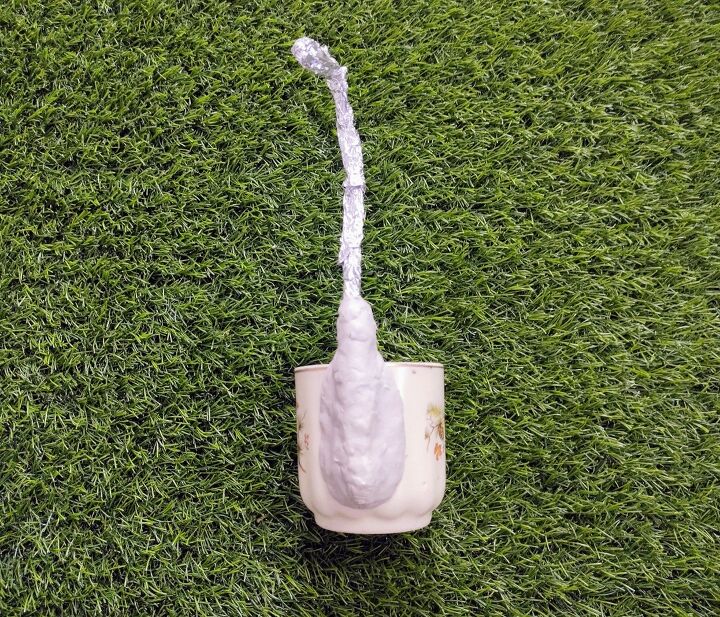
Apply for a small part as shown let it dry completely than apply for another small part.
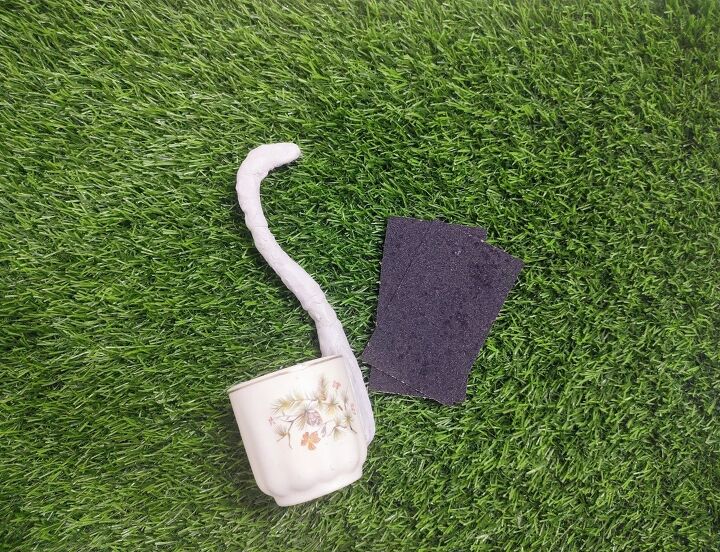
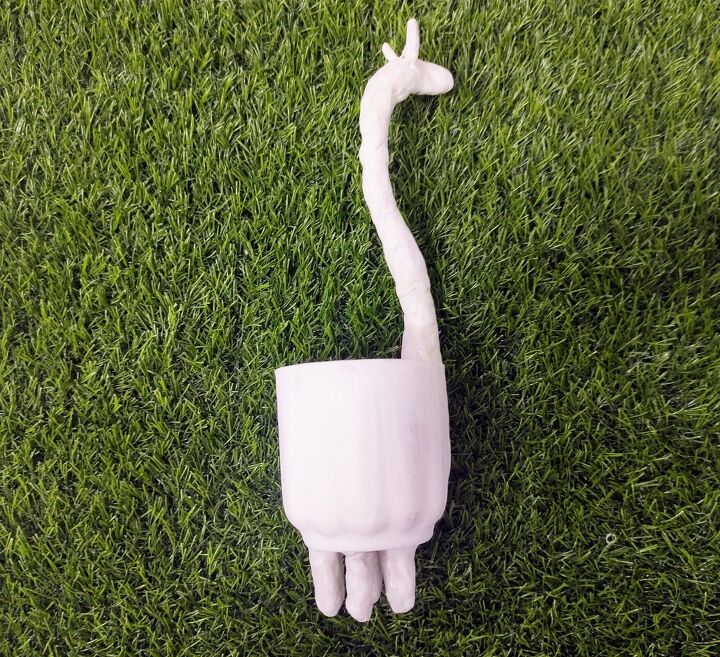
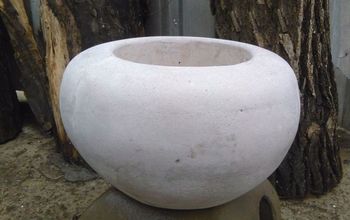
Step 5: Once applied for the entire part let it dry completely. Then using a sand paper smoothen surface if required.
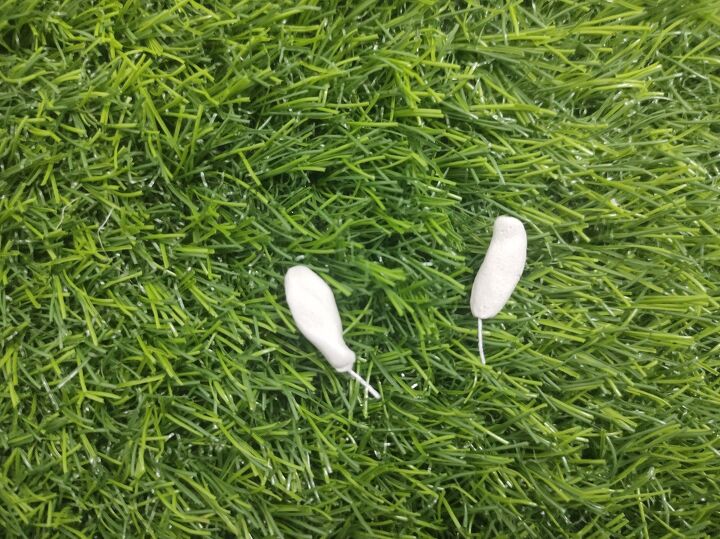
Step 6: Apply mouldit ( air dry clay) to a small piece of wire as shown this will be it's ears and horns.

Step 7: Once completely dried with the help of a glue stick the ears and horns.
Once done it will look something like this.
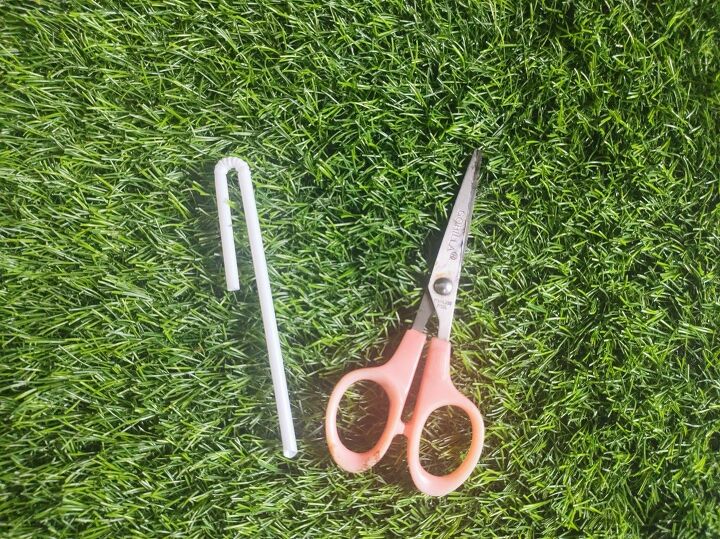
Step 8:Take a plastic straw and make four equal piece with the help of a scissors.
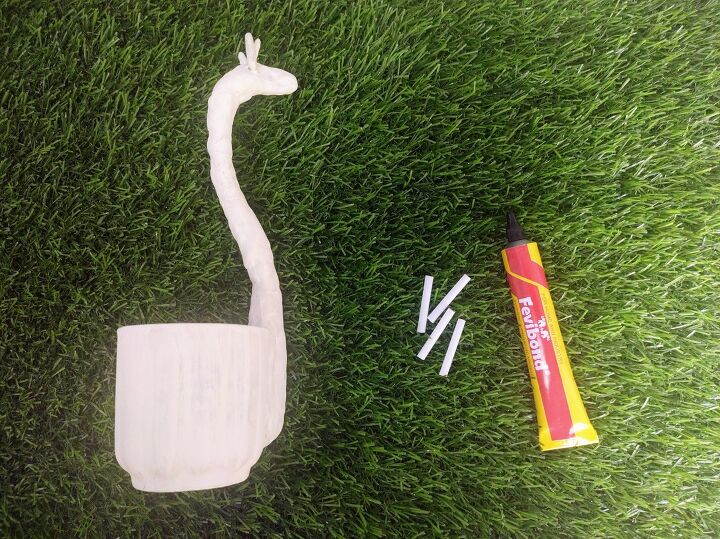
Stick the straw pieces underneath the cup using glue.
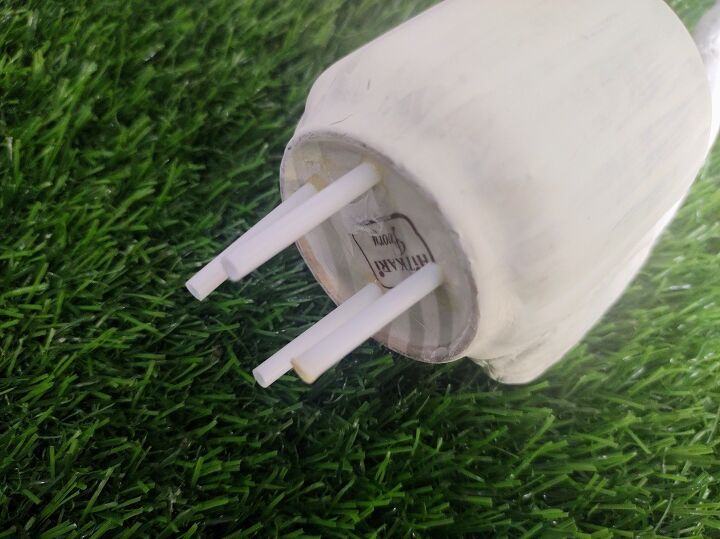
Stick the pieces as shown.
Step 9: Apply mouldit (air dry clay) for the straw pieces as shown. Let it dry completely.
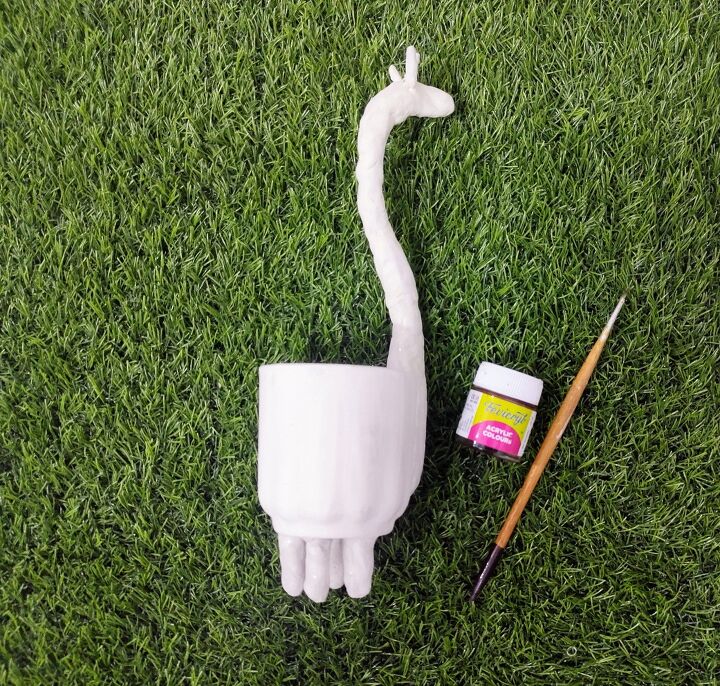
Step 10: Apply Chalk paint to the entire surface as shown. After it is dried completely using brown Acrylic Paint do the pattern as shown below.
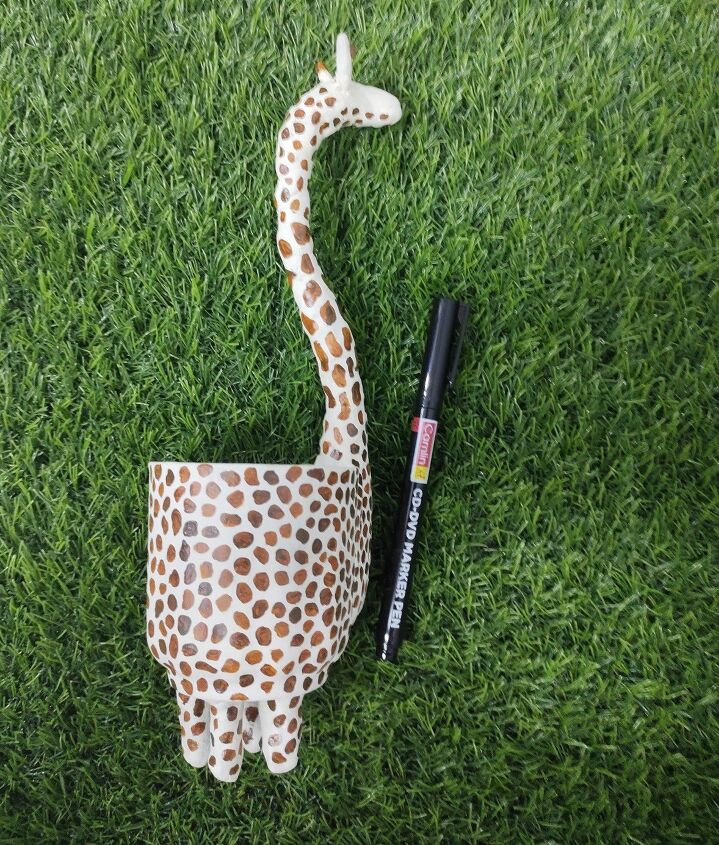
Step 11: Once the pattern is done let it dry completely. Now using a marker draw the ears, nostrils and eyes as shown below.
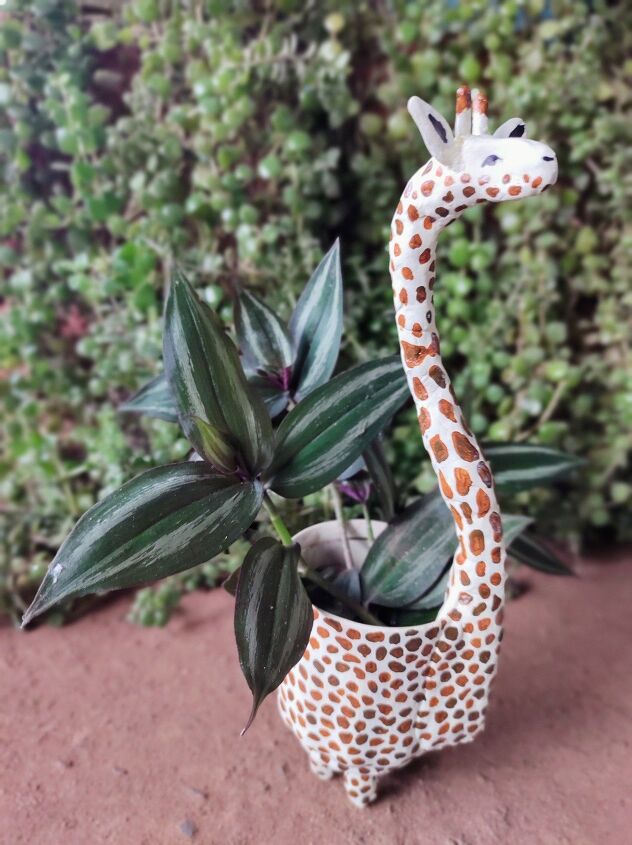
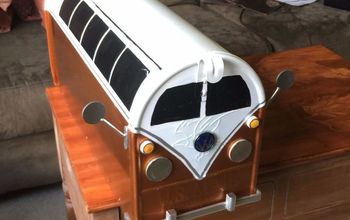
And your Giraffe Planter is READY!!!
This planter can be used in 2 ways;
- Add water and some plant cuttings making it a propagating planter.
- Can put a small potted vase and let water drain in the planter itself.


Comments
Join the conversation
-
Absolutely adorable!! 😍
-
I think most broken teacup, dollar store diy candle sticks, etc. are rainy day, something to do projects, not something you would want to showcase in your home, but this one, THIS ONE, is truly worth doing. It's darling. I've got the teacup, I've got the clay and I've got a place picked our for my finished product. Thank you so much for something my window shelf will finally appreciate.


Frequently asked questions
Have a question about this project?
What a cute save for a cup! My question is, what is Mould-it?
Could you use a planter and make a large giraffe in the same manner, obviously using something else for the legs? A herd of different sized giraffes would be cute.
I agree 💯% ‼️ with everyone ❤️ I wanted to make a unique " babies room gift. This is so very creative! I think I'd put a small artificial plant, or small stuffed teddy bear in the cup, IDK 🤷♀️
I'm 🤔 Are the straws strong enough, & not wobbly to support the cup? How fragile is the finished neck?