


Housing for House Water Supply Cut Off Valve.

by
Rhonda S
3 Materials
This post is not really a "step by step" of how to do this particular project as much as it about solving a variety of problems, and how - if you let yourself, you can come up with solutions. Our problem: the old cut-off valve to our household water supply had been buried so long that the handle intended for use to turn the supply off in an emergency had completely quit working, so when we replaced the supply line, we needed a way to get to the valve. It had to be big enough to fit a hand into but not so big that it was obtrusive. I didn't know where to start, so I started looking through my various containers to see if I had something that would work as a housing. I came up with a coffee can.
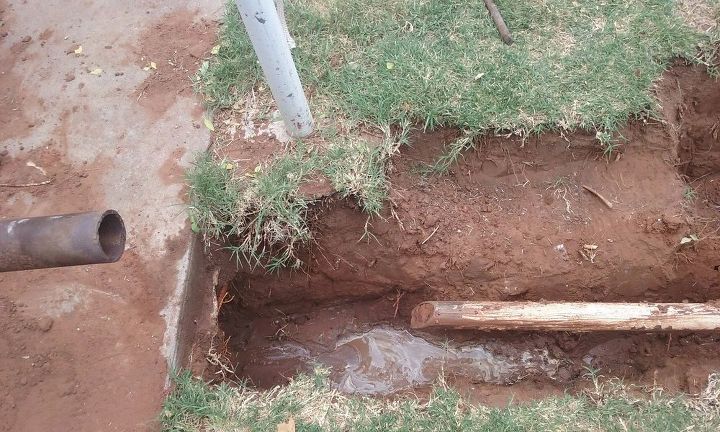
We did the installation of the new supply line. I looked for a valve that would have a handle that we could reach above ground, but this is what was actually recommended for our application. Notice copper going into the house, and PVC from the street to this valve. (We finally got around to posting about the supply line tunnel here, if you are interested: http://www.hometalk.com/diy/repair/plumbing/don-t-cut-the-concrete-slab-drill-a-tunnel-under-it-instead-21337111 )
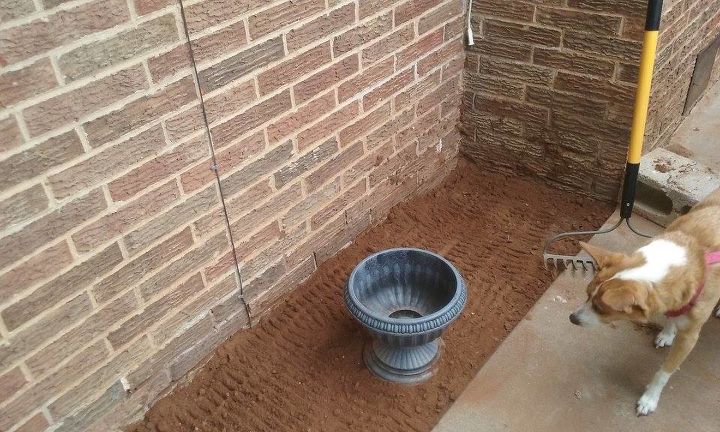
My first container attempt was a coffee can sitting on bricks
I cut little flaps in the coffee can to fit over the pipe and keep dirt away from the valve, but it took only a few moments to recognize that the can was way too short for the purpose, and I was also concerned that it would rust away in no time.
I like to wander around the hardware store and think of how I could use all the weird products for some othe task, and I recalled that we had purchased and installed a sewer cleanout near the house. I recalled that the cleanout was the right size diameter, but not long enough. I asked an employee in the plumbing department at our lumber yard if they cut sewer pipe to size, and he said yes. I asked if they had any pieces about a foot long, and sure enough, there was a scrap end available. I got it at a discount. It never hurts to ask! I got it home, and used leftover fiberglass and "Bondo" brand resin - available in the automotive section for use in auto body repair. I applied the mat and resin paste, and let it set up.
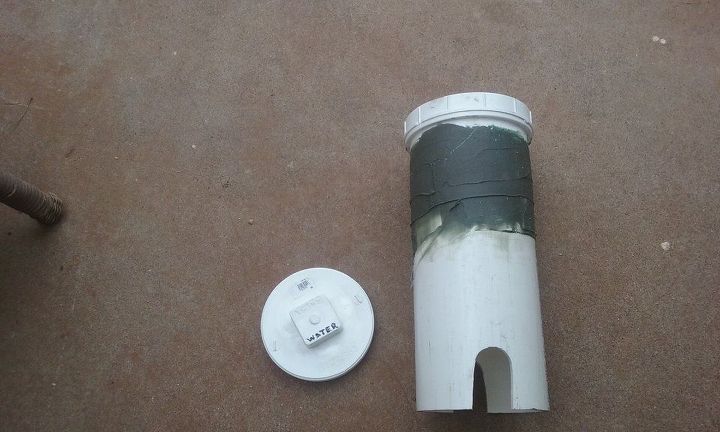
I let it cure thoroughly, and used a jigsaw to cut notches for the pipe to run through. The bottom of the housing sits below the level of the pipe, and the top of the arch in the notch straddles the pipe.
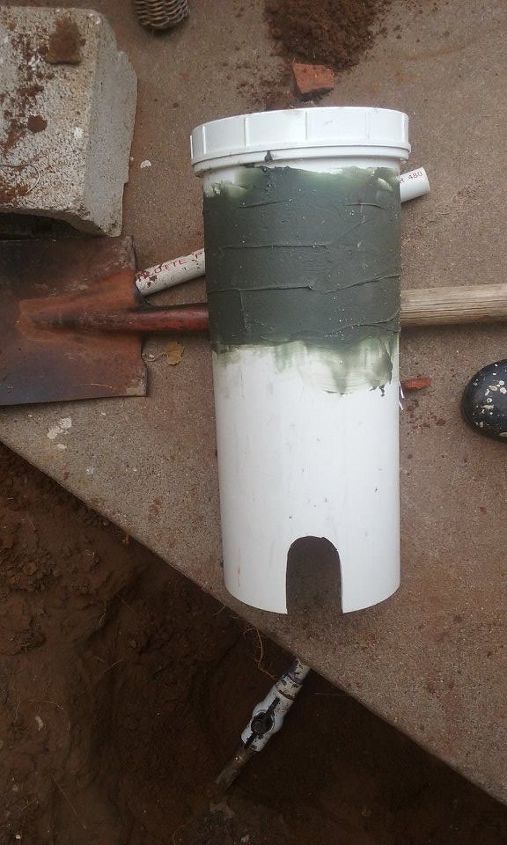
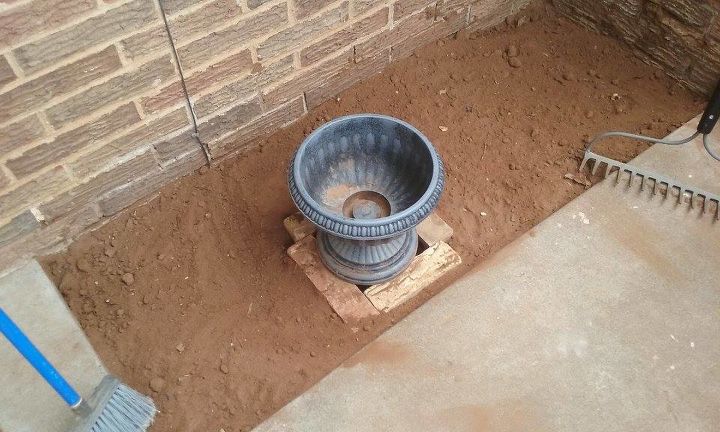
I use course sandpaper to smooth the roughest places, but since this is going to be buried, I did not worry about the look of it. I did not paint or seal it, as appearance didn't matter. In this photo, I'm test fitting the housing. I needed to clear out a larger space than I had for the coffee can.
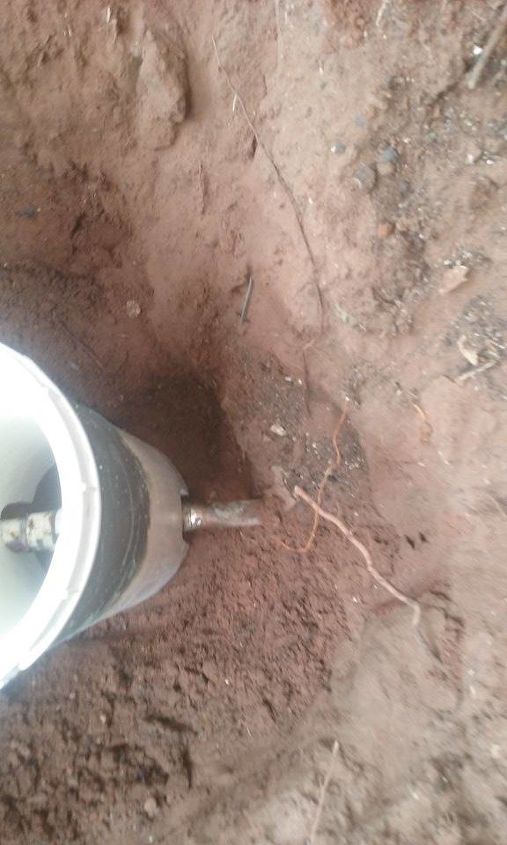
This photo shows the housing in place from the copper (house) side.
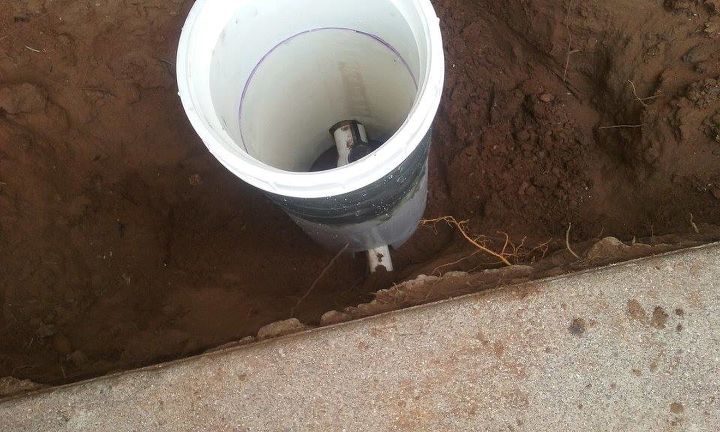
This is the supply side. You can not really see it in these photos, but before I buried the pipe, I wedged small stones around the pipe to "close" the hole and keep soil out of the interior of the pipe better.

I put the cap on and buried the housing, leaving only the cap showing. Then I discovered a new problem: I was almost certainly going to get sand and soil in the threads, and it would make opening the housing more difficult. I didn't want to take out the dirt, because then I'd have this odd cap sticking up in the flower bed.
My plan had been to put a planter over the cap, but I was not satisfied that the threads would be protected.
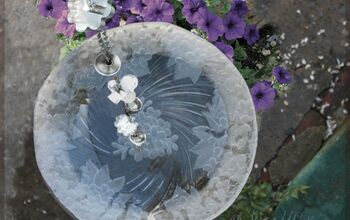
Salvaged bricks wedged in next to the pipe at ground level provide a surface for the planter, and keep dirt out of the threads better. This was important because I rarely need an emergency cutoff valve at a "convenient time." I could imagine needing to open it up in the dark, in the rain, and with a degree of urgency. I tested it several times. Pulling the planter off the bricks was simple enough that I decided this was the solution to my dirt-in-the-threads problem.

I went about putting in an herb garden. The plants shown and emply planter pots are what I had that day. It filled in over the summer with additional plants, a few ornamental flowers, and random rocks. I'll be able to focus on making the herb garden better next year, knowing the cut-off valve is protected and accessible.
Comments
Join the conversation
4 of 6 comments
-
This is just the kind of thing I can appreciate! I know it's different but, we had a clean-out installed right in the path of our brick walkway in the backyard and we temporarily (4 years?) put a flat bottomed wooden bowl/dish upside down over the cap since putting a brick on top wouldn't work. It looks funny but, for now it works. Creativity is needed everywhere, isn't it?!
-
Great solution!


Frequently asked questions
Have a question about this project?