


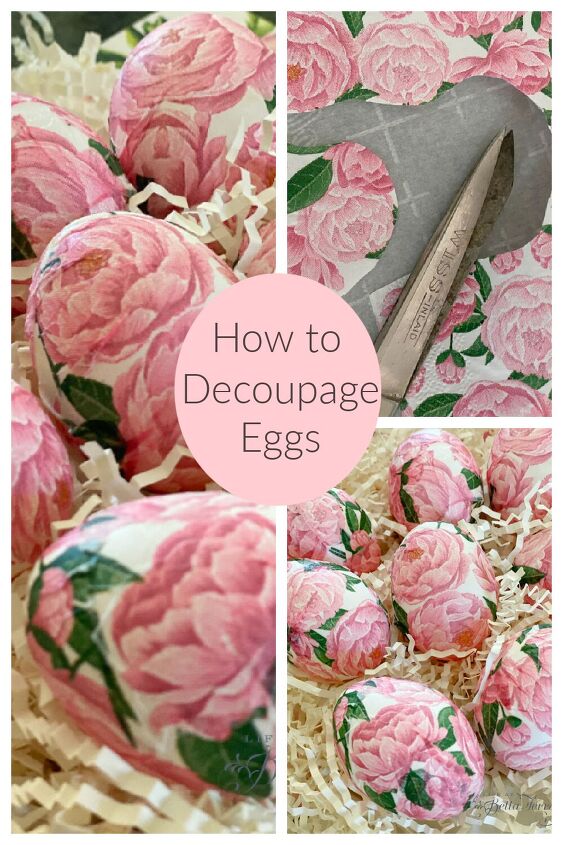
How to Make Decoupage Easter Eggs
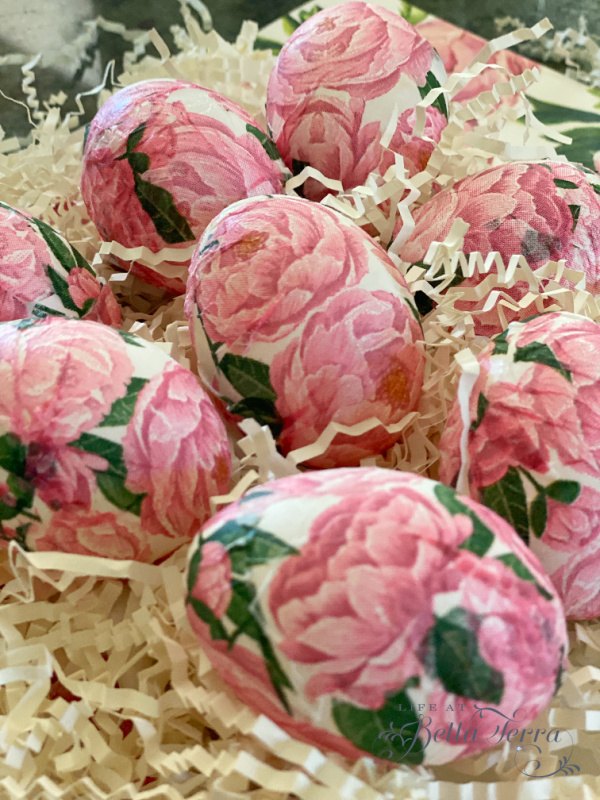
I have always wanted to try decoupaging eggs with pretty napkins for Easter and Spring. However, I couldn’t find any appropriate napkins laying around the house to do this. So instead, I find paper hand towels with a pretty peony pattern. This is a relatively easy DIY project and would be so fun to do with children or grandchildren too. Keep reading to find out how to make decoupage Easter eggs.
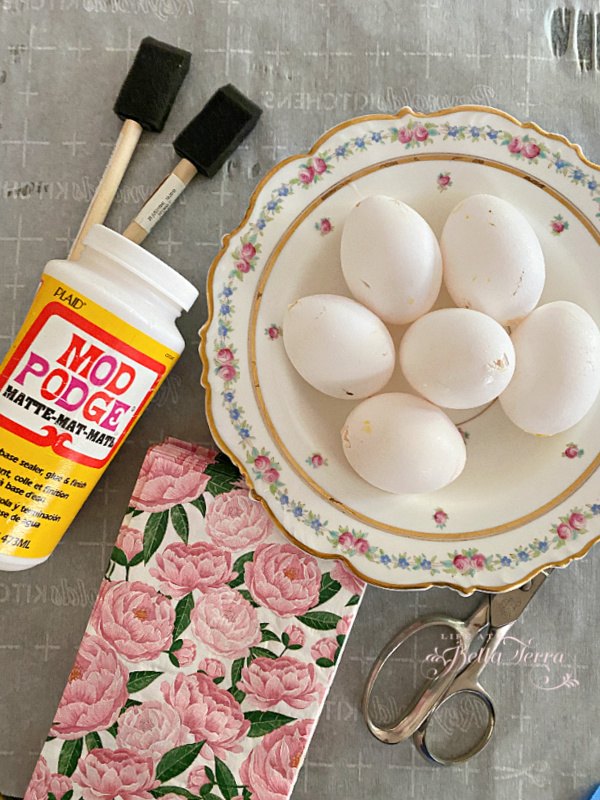
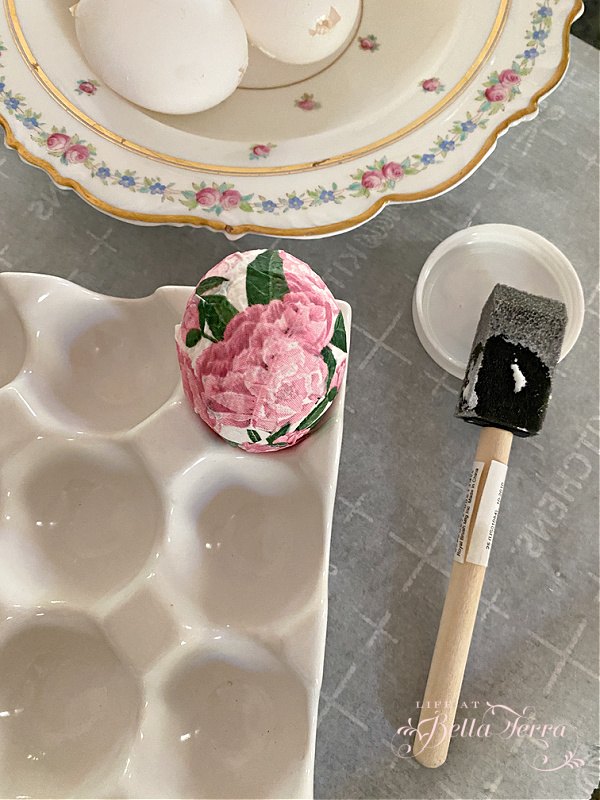
After you find the perfect napkin or paper hand towel (mine is from Hester & Cook) you will need scissors, Mod Podge, eggs and a paint brush. You can find Mod Podge here or at any craft store. If you have not used Mod Podge before it is a water base sealer, glue and finish. Mine is a Matte finish, but if you like glossy, why not?
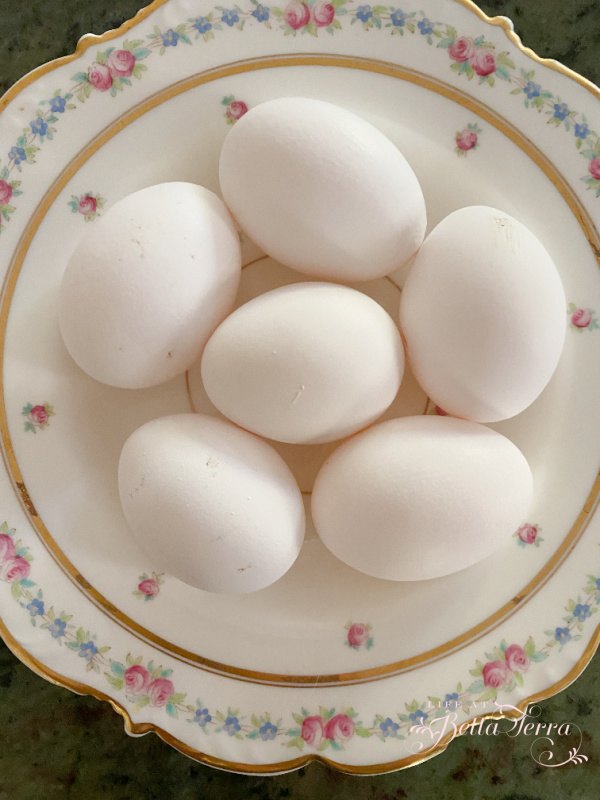
Regarding eggs, since we have SO many laying chickens I am using our fresh eggs. However, craft eggs would work, maybe even plastic or wooden eggs (see here). A neutral color would be my suggestion as I only use white eggs vs. the brown or blue eggs our chickens lay.
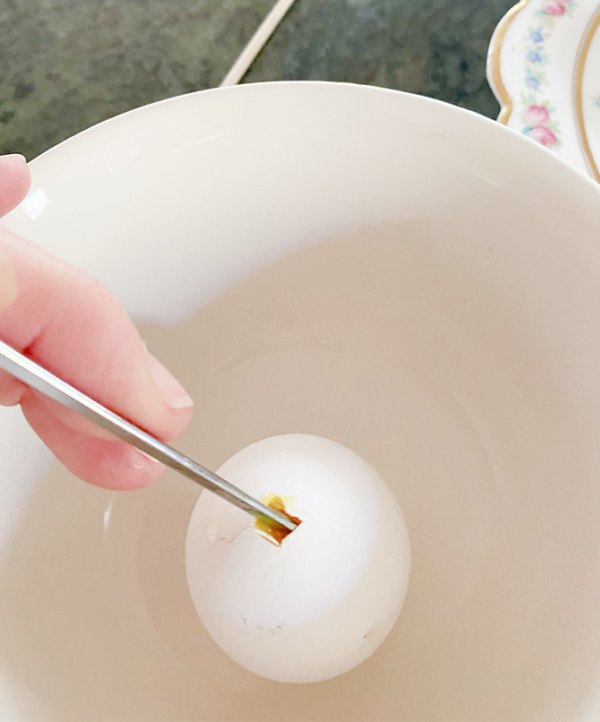
This is a relatively easy process. First of all, prepare your work surface. A good size piece of parchment paper is taped to the granite counter as my work area. With a metal skewer (or you can use a knife), I gently tap a hole in both ends of the egg at the tips.
If the egg cracks a bit, don’t worry as you will be covering it. Make sure you take a skewer or wooden pick and pierce the inner membrane of the egg. It will be MUCH easier to remove the contents if the inside of the egg is not whole. Last time my husband blew out the contents of eggs for me, he ended up bursting a blood vessel in his eye.
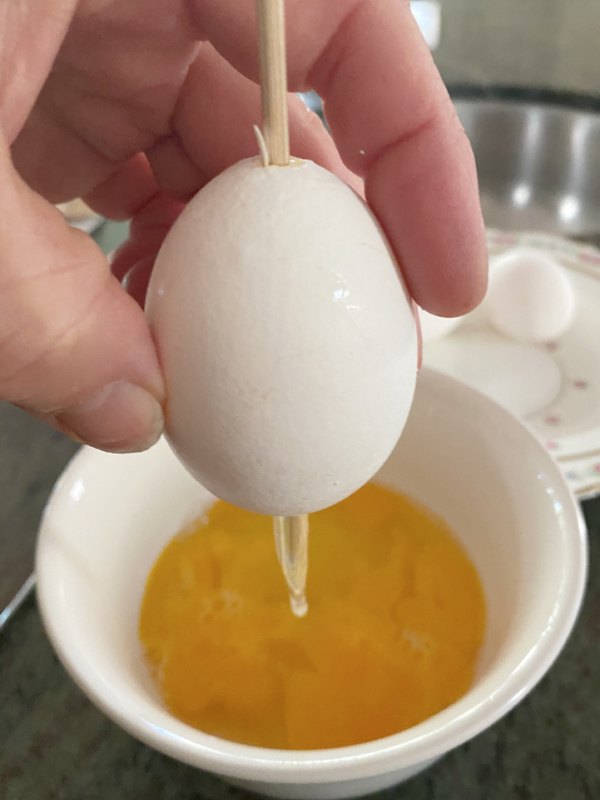
There is no need for this be difficult. A gentle, steady breath will release the contents of the egg easily. If not, try shaking the egg to “scramble” the insides.
After all the eggs are empty, I gently rinse them and wipe dry with a paper towel.

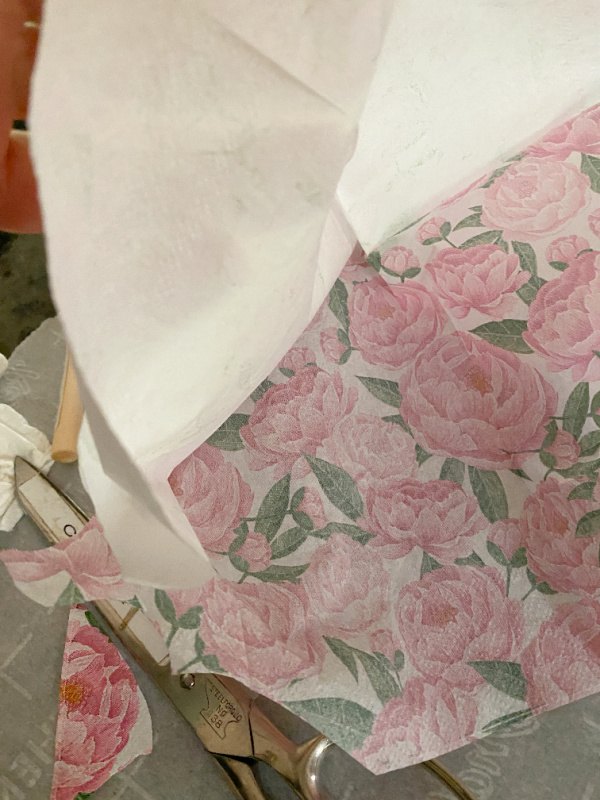
Depending on the design of your napkin/hand towel, cut out a section. My hand towels are 3 ply so remember to check for that. The first one I did the white paper backing stuck to the egg, but the peony design did not.
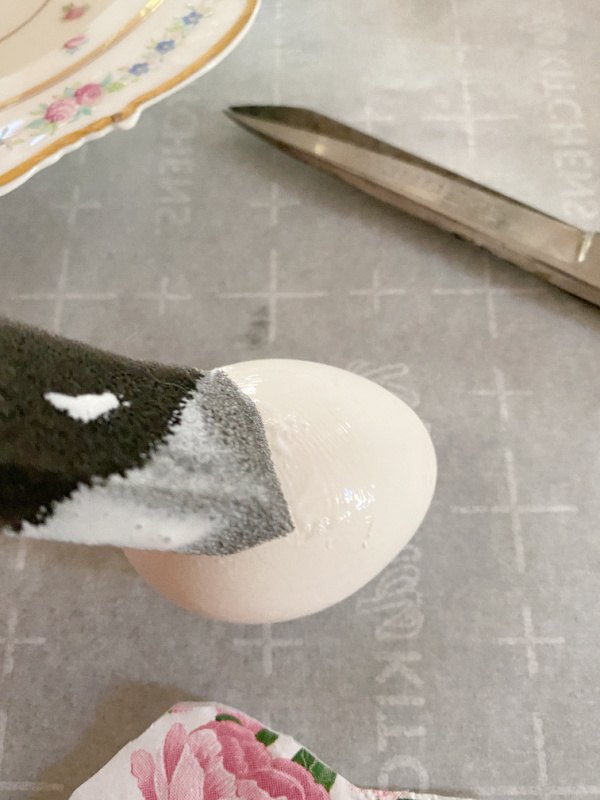
Using your foam brush (or any brush) paint the Mod Podge to the egg. I like using these disposable foam brushes as you can discard them when you are finished.
Add your paper cut-out to the egg, smoothing the wrinkles and edges. You can also paint the Mod Podge right on the paper too. It will dry clear and keep the edges fastened to the egg.
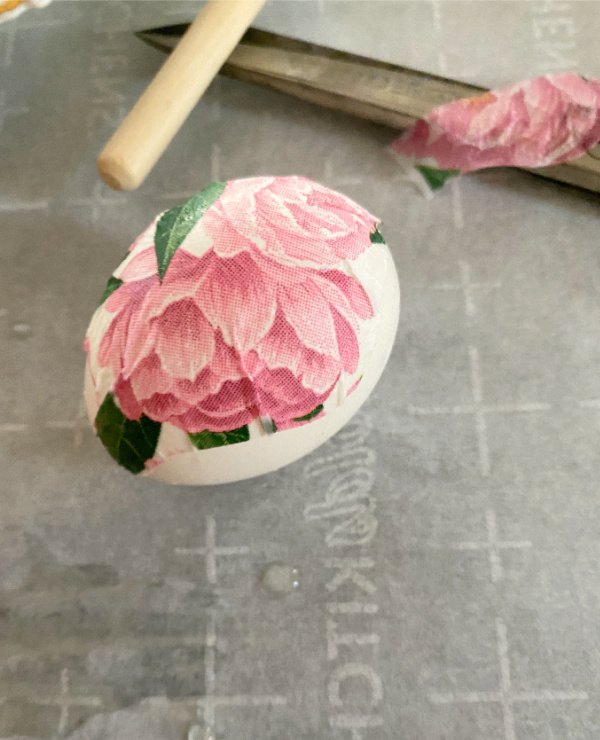
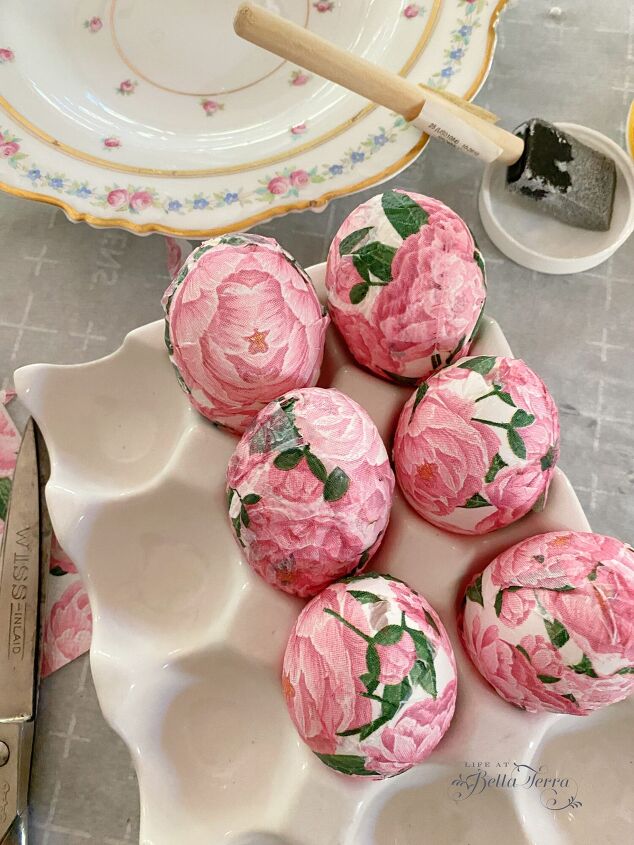
Keep adding pieces of your paper to the egg. My peony paper is very thin and any overlap can be seen. It may not matter but it all depends on your pattern and how you want it to look in the end.
The eggs will need to dry to set the glue. I get better at this with each application.
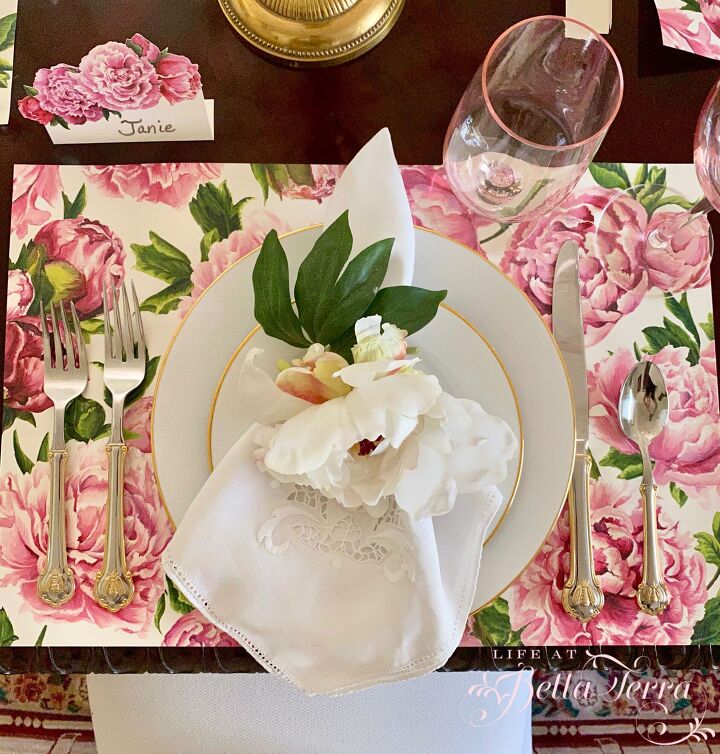
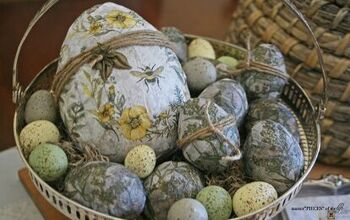
What is nice about these eggs is that they will keep forever. And I can use these pretty eggs in my table decor if I ever do another peony themed tablescape like the one I did last spring. See it here.
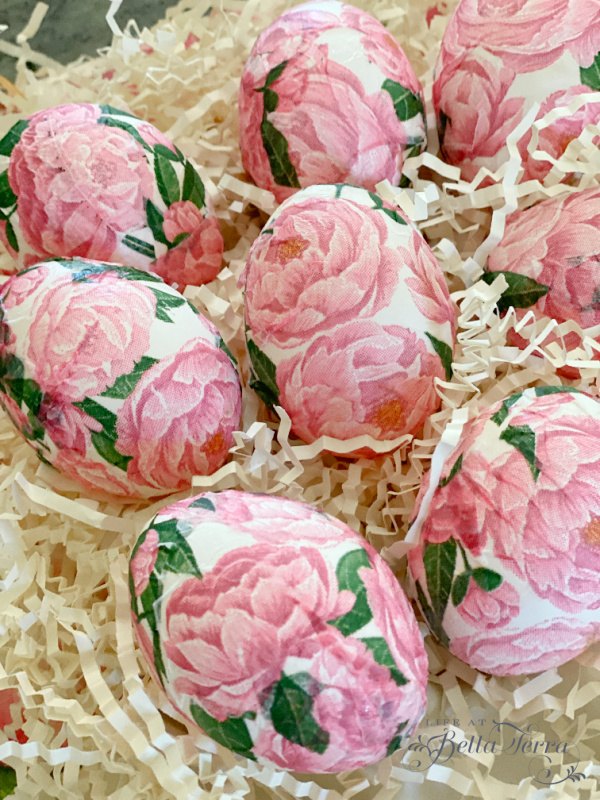
These eggs are so cheerful and fun. Now I am inspired to look at other napkins and for future projects. The possibilities are endless since there are now many papers especially for decoupage. See some ideas here.
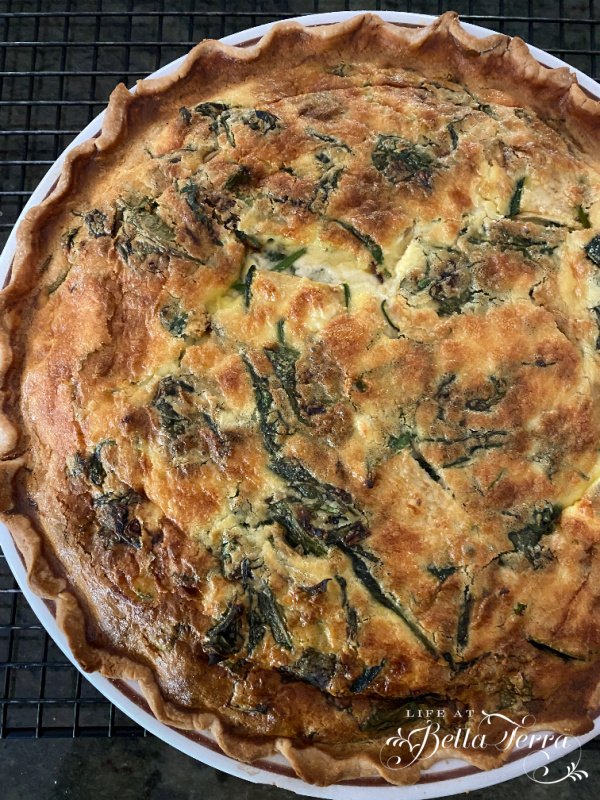
And the best part? Using all the fresh eggs for a homemade quiche! I love it when there is no waste.
Thank you so much for joining me today. It feels good to accomplish something that I have been wanting to do. I hope you like this simple DIY project. We will more than likely dye our eggs the traditional way but it’s fun to have other egg options.
Happy Tuesday, my sweet friends!
If you enjoy this post, please share on Pinterest.

Comments
Join the conversation
-
Thank you for the Etsy shout-out. Good to know. I am so happy you like this project!
-
I love this! These are very nice!


Frequently asked questions
Have a question about this project?
Can this be done on plastic eggs (rather than real eggs)?
So Pretty! will definetly be trying this. Also the china bowl in the photos is just gorgeous! Could I ask the pattern name please?