


Mailbox Makeover With Contact Paper Liner

6 Materials
$15
45 Minutes
Easy
I'm a big fan of restoring perfectly good items instead of throwing them out and buying new ones. One of those things is our mailbox. It works perfectly well, but is very old and has heavy rust stains. I decided to give it a makeover with a contact paper lining for an extra special touch. Enjoy!
We want to help you DIY, so some of the materials in this post are linked to sellers. Just so you know, Hometalk may collect a small share of sales from the links on this page.
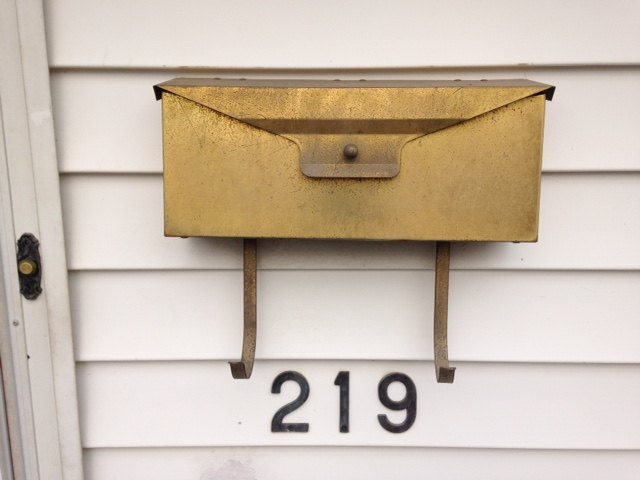
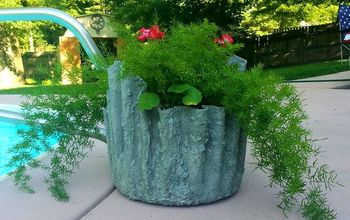
Boring, old, rusty brass mailbox (screaming for an update)!
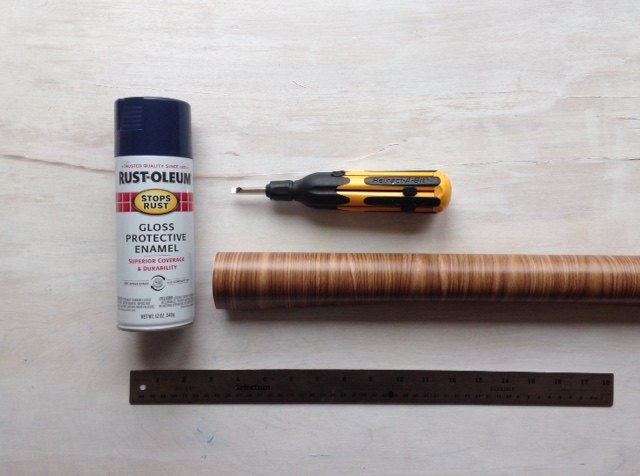
SUPPLIES:
- Mailbox
- Rust-Oluem Gloss Protective Enamel Spray Paint (Navy)
- Adhesive Contact Paper
- Ruler
- Sandpaper
You can buy the wood contact paper used in this project here.
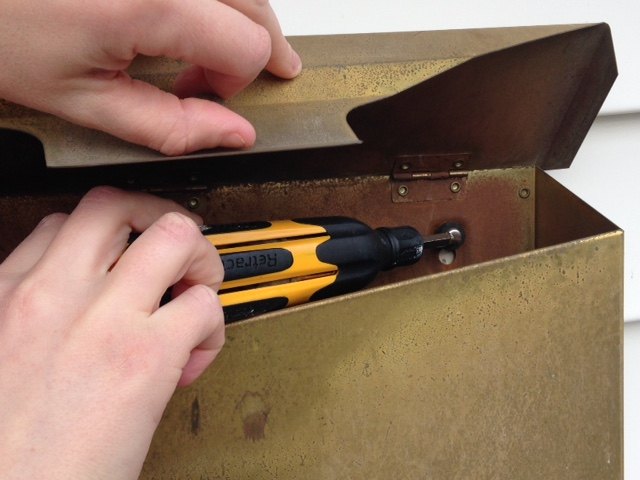
Step 1: Remove the mailbox from the front door area.

Step 2: Give it a clean with some heavy-duty cleaner. Don't forget to give the inside a good wipe too!
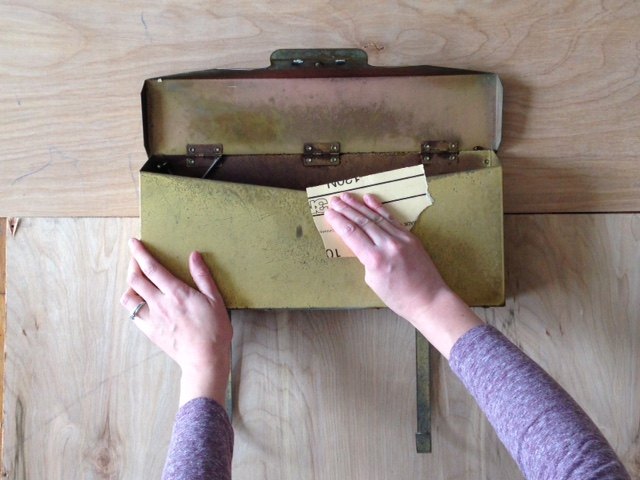
Step 3: Using sandpaper, sand any rough edges, old rust build-up and debris off of the mailbox.
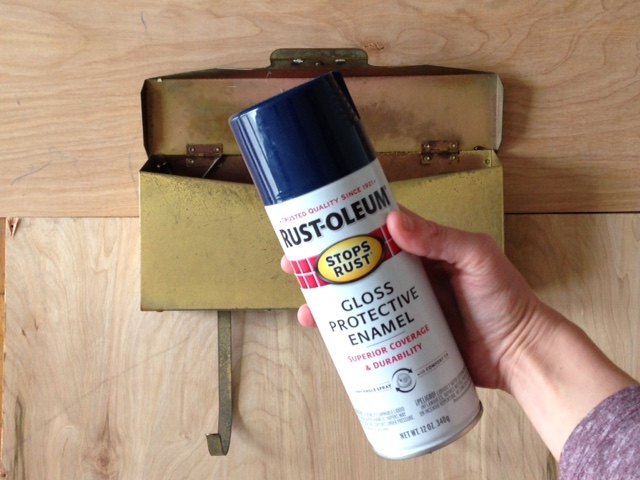
Get your paint-ready! I used Rust-Oleum Gloss Protective Enamel in Navy. It stops rust from forming - perfect for an outdoor mailbox.
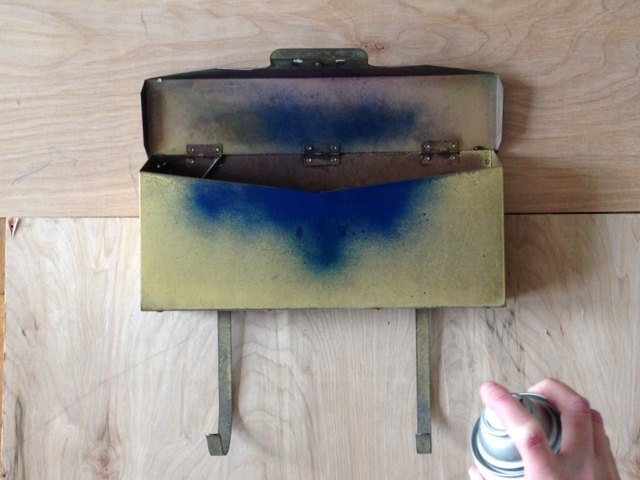
Step 4: Spray paint your mailbox any color you'd like.
Let one coat dry, and apply a second coat. Be sure to paint all sides, as well as the inside of the mailbox too.
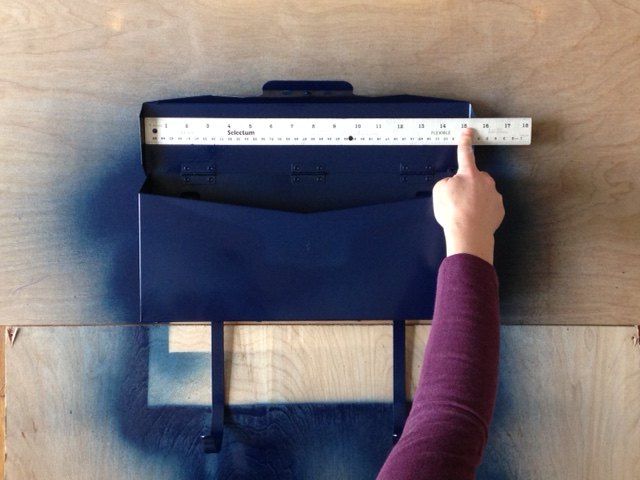
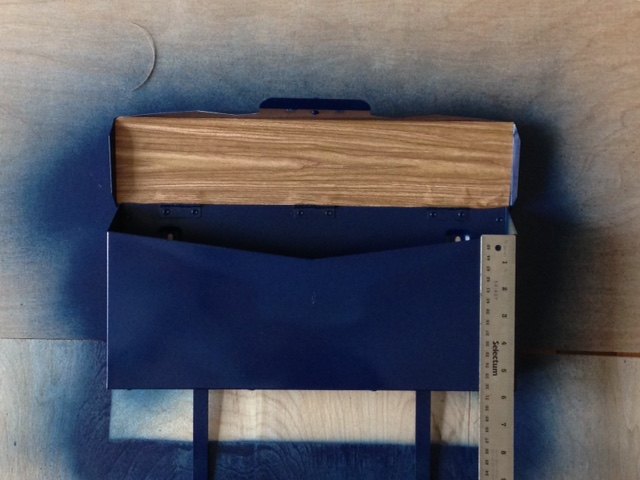
Step 5: Measure the inside of your mailbox flap (length and width).
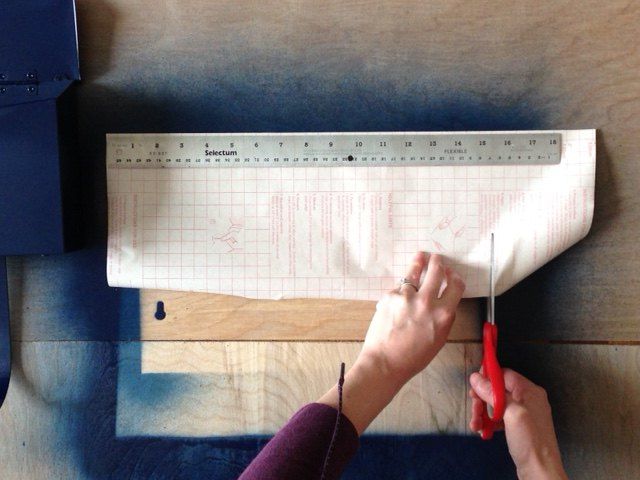
Step 6: Cut out the appropriate size (to fit within the inside flap) from your adhesive contact paper.
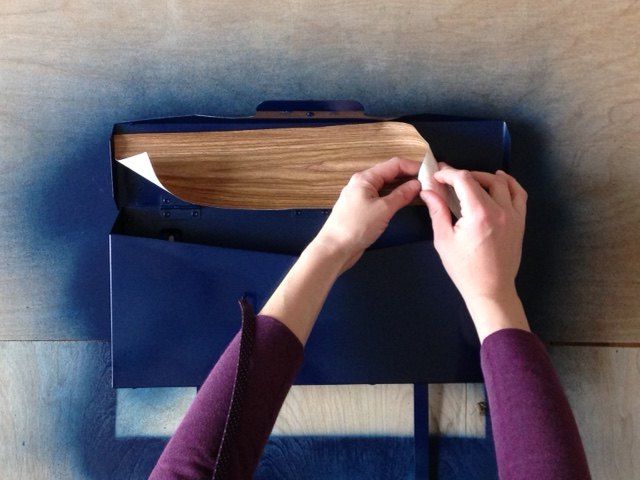
Step 7: Peel the backing off of the contact paper and stick.
Step 8: Measure the inside base of the mailbox (length and width).

Step 9: Cut out the appropriate size (to fit within the inside base) from your adhesive contact paper.
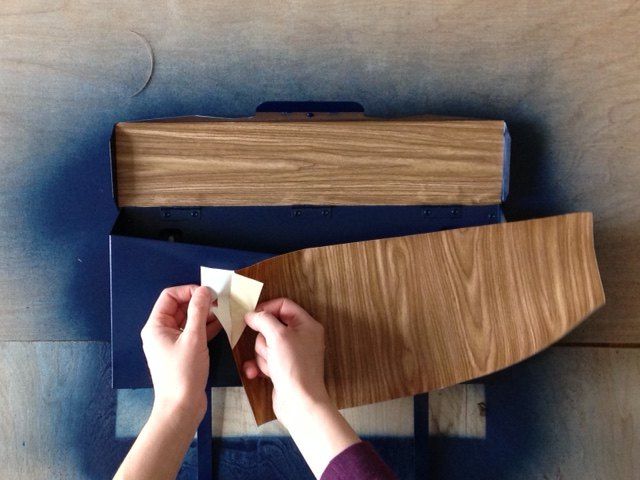
Step 10: Peel off the backing and stick onto the inside of your mailbox base.
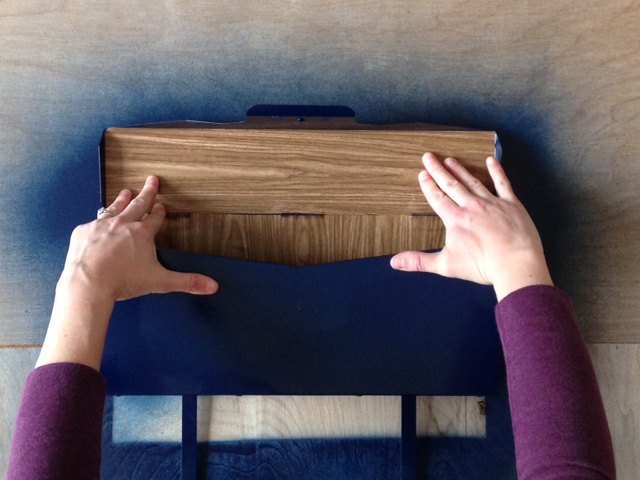
Step 11: Smooth our any bubbles and wrinkles from both contact paper pieces.
Like the contact paper used for this project? You can buy it here.
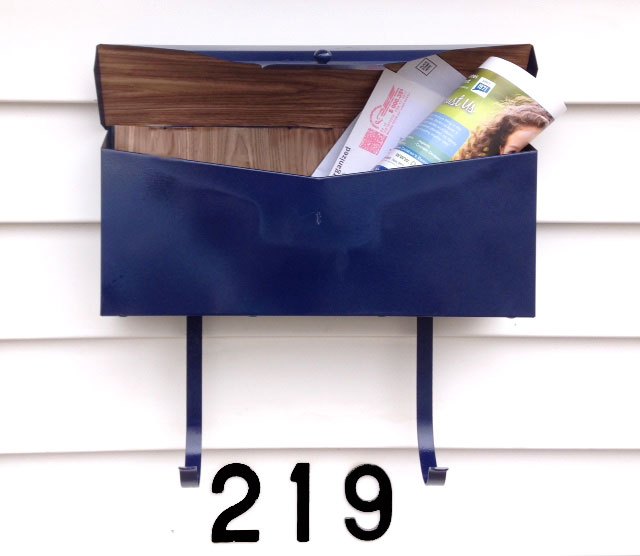
Step 12: Proudly hang your shiny, restored mailbox back onto the front of your house and wait happily for the mail person to deliver the goods.
Comments
Join the conversation
2 of 48 comments
-
It still looks great
-
You're a better woman than I am! I've *never* been able to put contact on anything, that it didn't end up looking all wrinkled. The mailbox looks lovely.


Frequently asked questions
Have a question about this project?
What if it is plastic? Is there paint available for painting plastic?
What's the best way to completely replace walls in mobil home?
Can you do this on a box that sits on the side of the road. We live in the country, so our mail boxes are on the side of the road.