


Making a Faux Brick Wall With Sheetrock Plaster

DIY major project! We have a crack appear in the same spot every year that I have to repair. So, this year I decided to try for a permanent fix. Make a faux brick wall as inexpensive as I can. Major undertaking since it is in a vaulted part of the foyer going up stairs! After a week of backbreaking work, I am happy with the results.
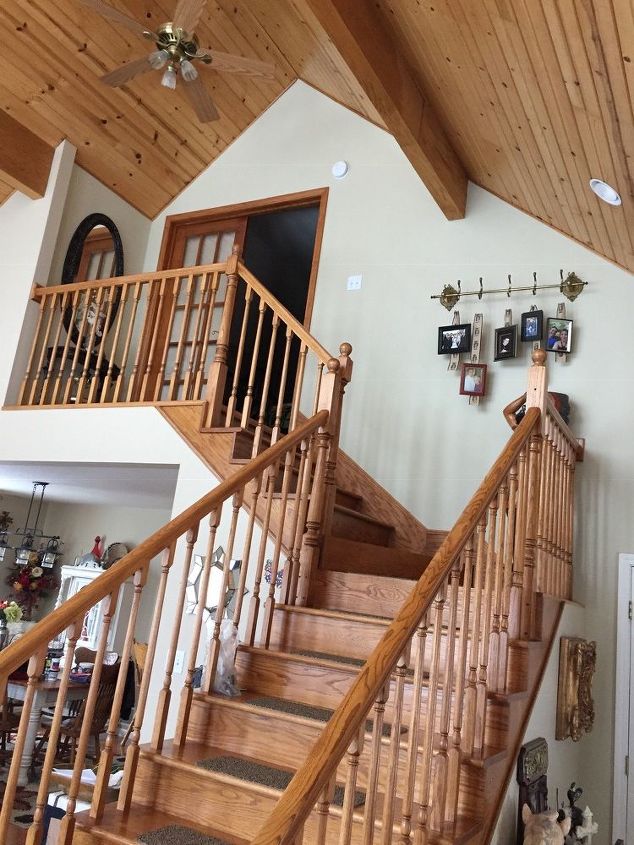
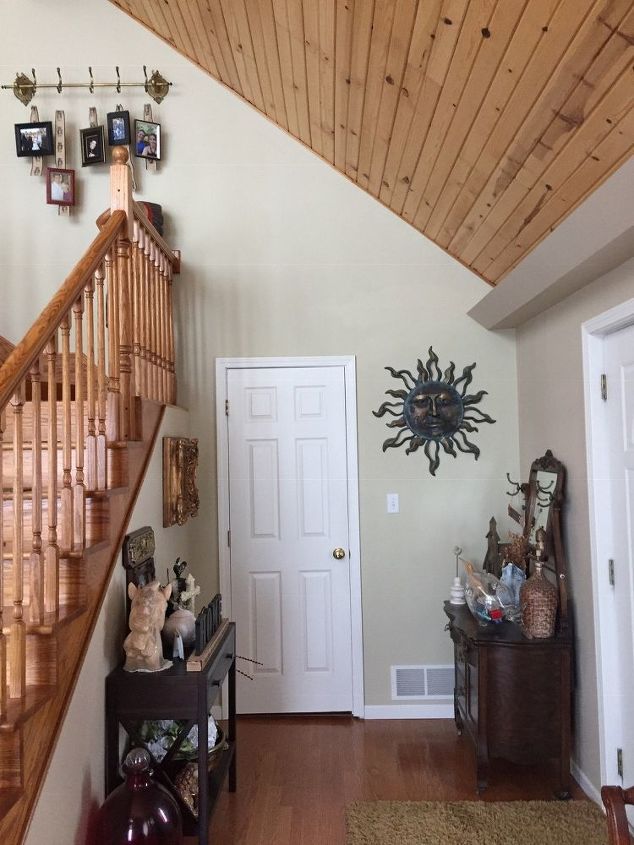
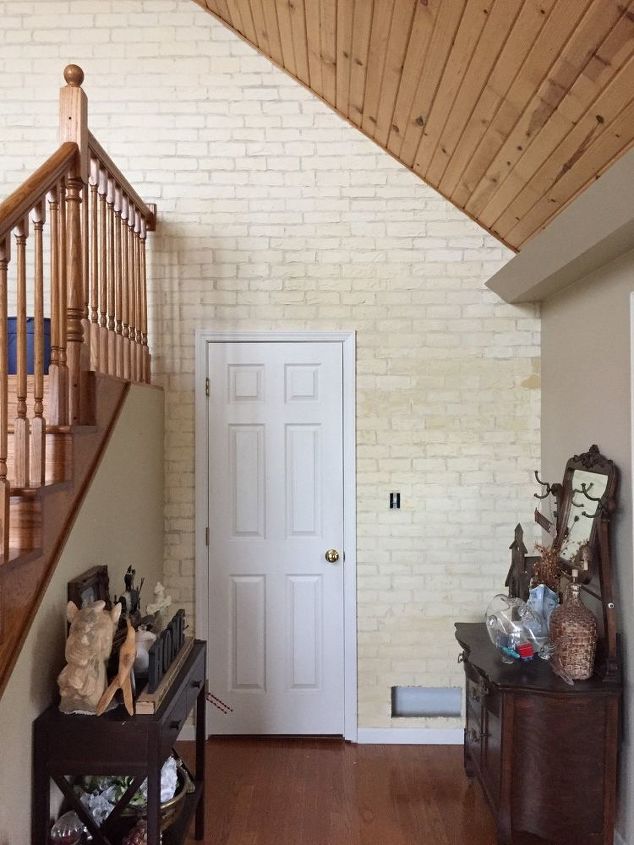
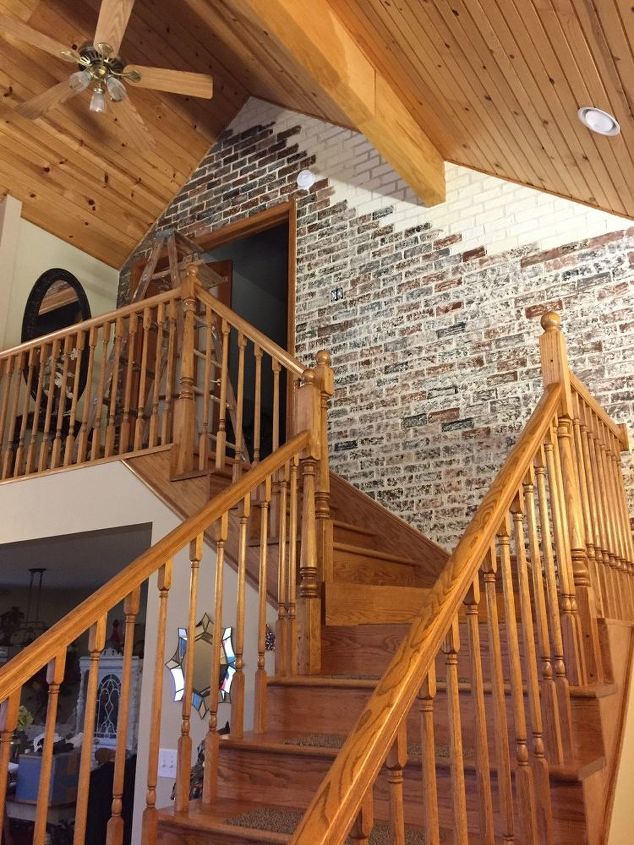
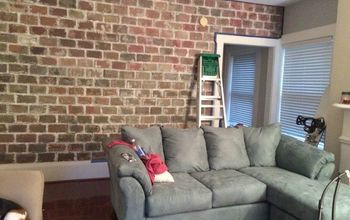
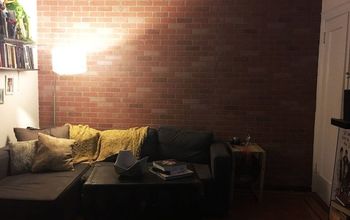
This is the entry foyer. Before picture.
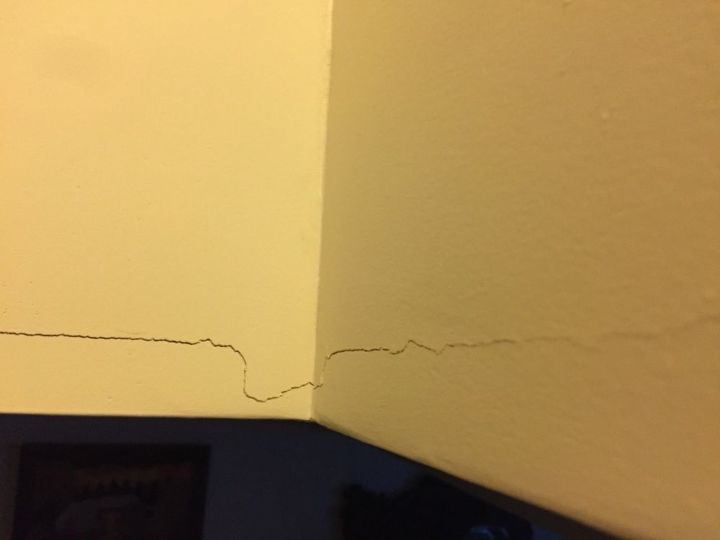
I should have put this first. This is the pain in the b$&@ crack!
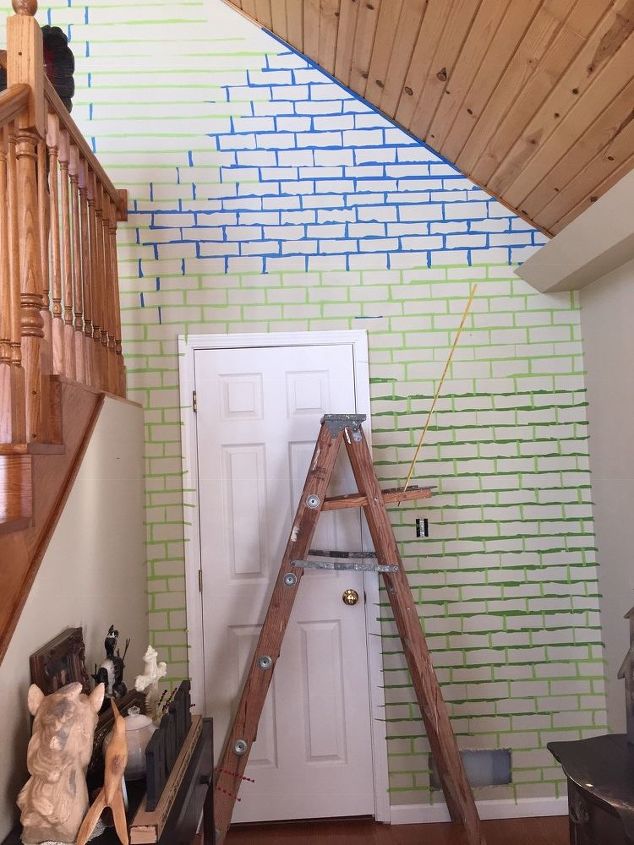
I measured a brick. Then painstakingly measured out the brick pattern and taped it off. Grueling task, but it was very important that it look as much like brick as possible. I tore the tape so it didn’t look like clean edges. I used a level just to make sure it was straight and a pencil to draw out the pattern.
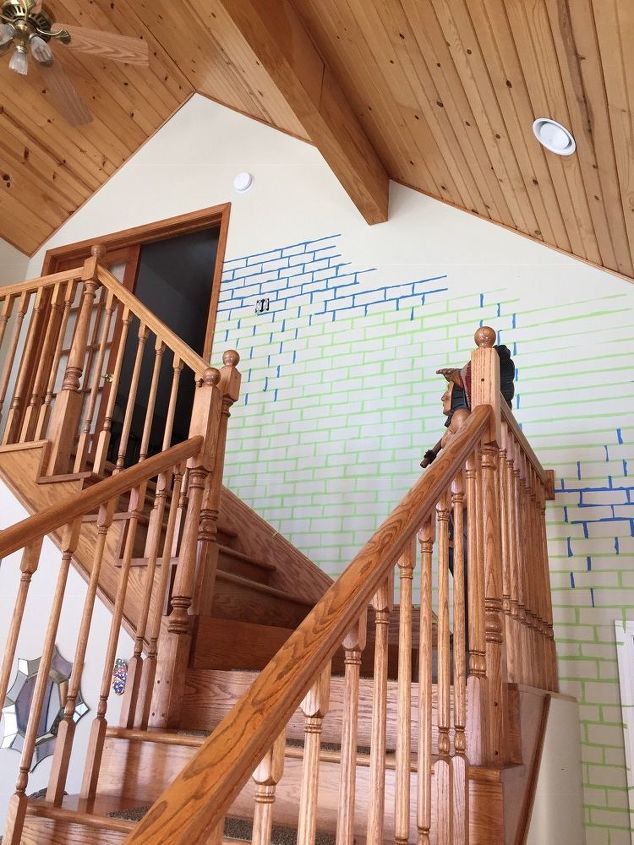
More taping! The tape was some I already had, hence, the different colors. I buy tape any time I find it at a garage sale just for these types of projects.
I then used all purpose Sheetrock joint compound to put over the area. It was on sale at Menards for $12.97 for 5 gallons. At first, I used my putty knife to lay the compound. Later, I used my hand (with a plastic glove on) and just smeared it. It worked way better. The putty knife didn’t let me put it on as thick as I wanted. When it had set about 15 minutes, I started pulling off the taped. Messy deal! Make sure u have your trash can close by! If it dries with the tape- good luck getting it off! I didn’t see one or two until after it had dried and couldn’t get it off. So, I made a line where it should have been with the ‘grout’.
The tan ‘bricks’ were me trying to tint the joint compound to save a step. I didn’t like it so continued just with the white.
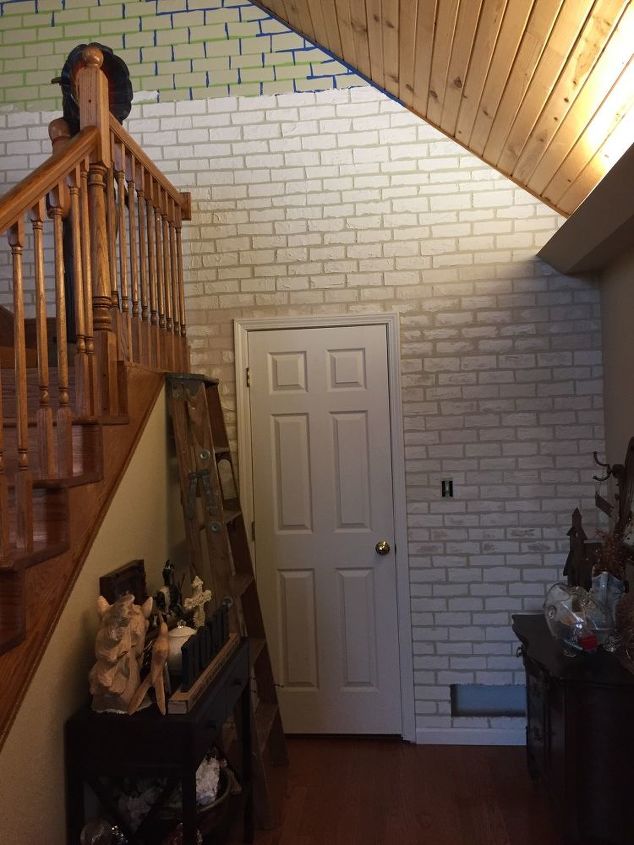
All the way done with the joint compound! The ‘bricks’ were 1/4 to 1/2 inch raised from the wall. Then I put a thin layer of Rock Hard putty (bought at Menards for about $9.) over the bricks to make them more durable. The yellow parts are the putty not yet dry. It turns white when dry. You have to work fast because it hardens in no time. It comes in a dry powder that you mix as needed. Only mix smaller amounts because of the fast hardening speed. Play around with what works for you.
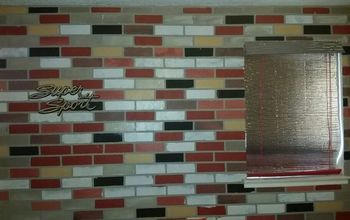
I used acrylic paint (some I had laying around. The smaller bottles from Walmart in the craft section) and put the colors I wanted on a coated paper plate. Using a sea sponge, I would paint each brick until I liked the way it looked. It looks harder than it is. With the texture of the joint compound makes it easy to paint and make it look like real brick.
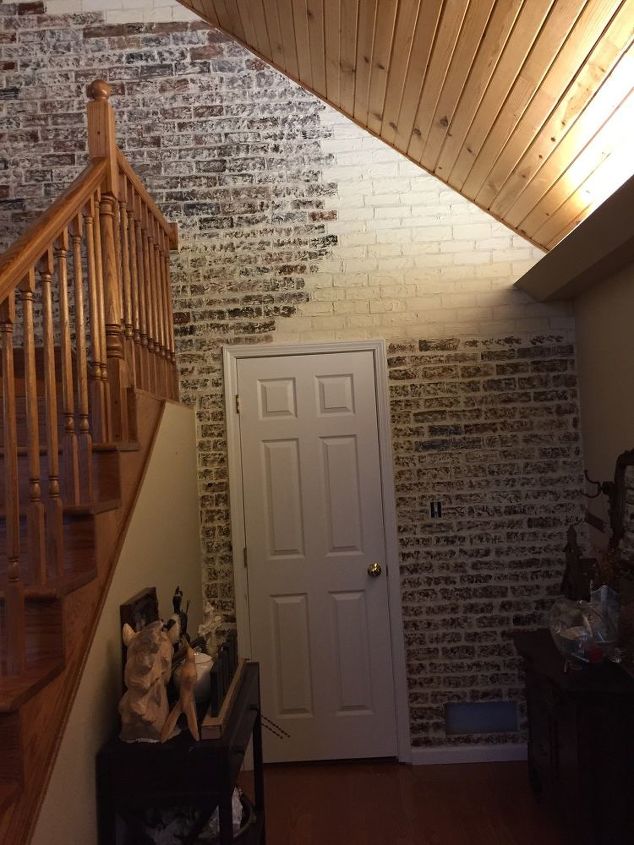
More painting! Then I ‘grouted’ between each ‘brick’ using caulking I found with textured pieces in it that actually looks like cement. It is called Red Devil EPC stucco patch. Bought it at Menards. I bought 4 thinking I would probably take one back. Wrong! I used all 4. It really makes it look real! Then I put a matted glaze over the brick ( I had that in the garage from another project) to further seal everything. Maybe overkill- but I only want to do this one time! I don’t want flaking down the road.
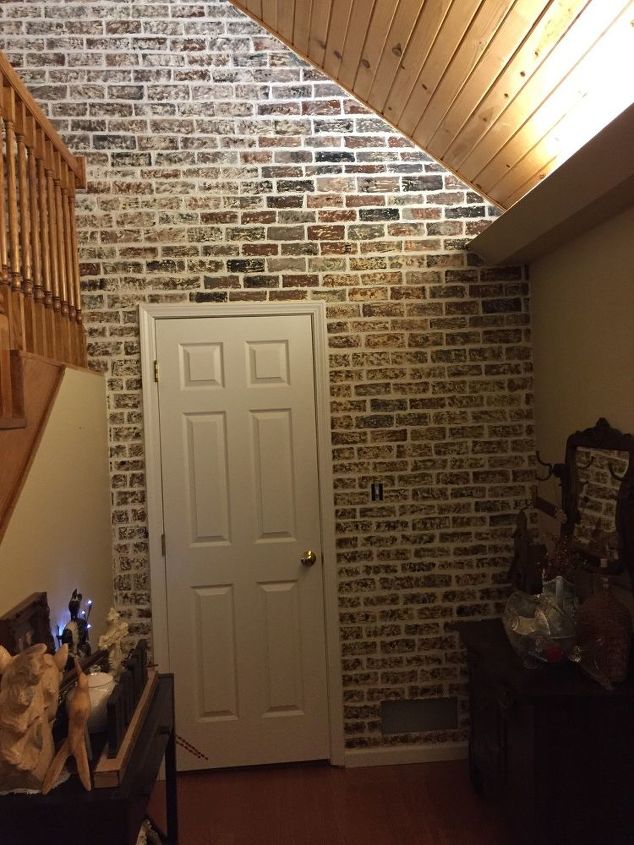
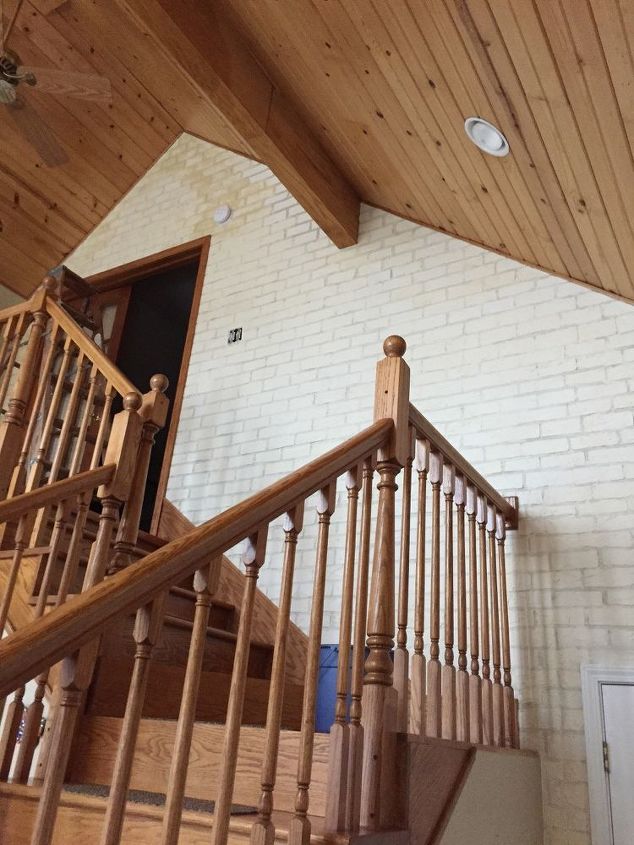
From start to finish- it took me a week. Working day and evening.
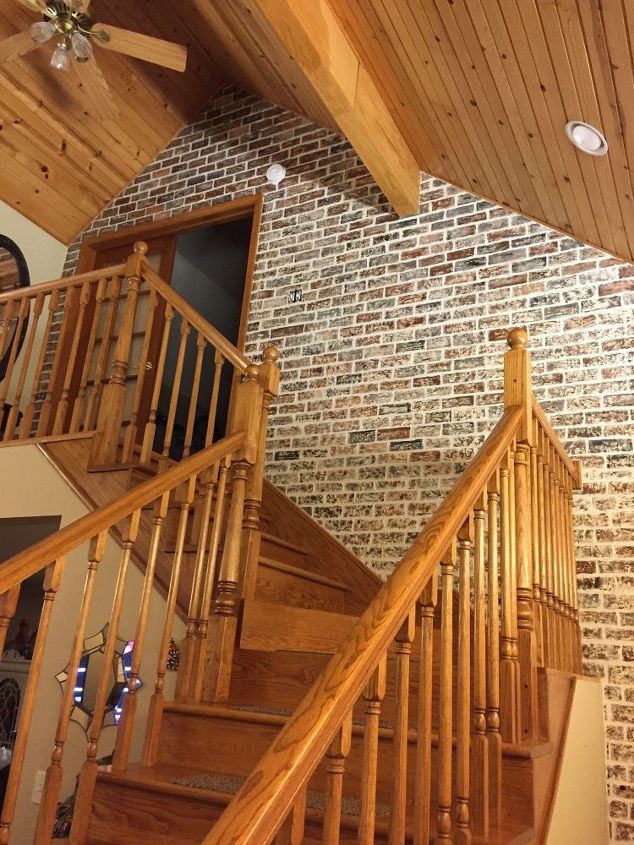
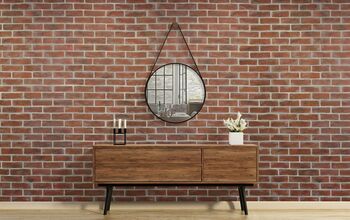
The vaulted part was the hardest. I don’t like heights- so I would keep my mind on the task and not look down!! Ta da! Done and I love the look! Now if it cracks in the future, it will just be part of the brick and hopefully won’t be noticeable.
Resources for this project:
See all materials


Comments
Join the conversation
-
Absolutely amazing! Great job!
-
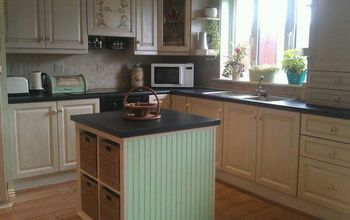
I have seen several such projects and yours is the best hands down, it is INCREDIBLY real looking! I did one in my kitchen two years ago and I still need to paint the bricks, now you have inspired me! Well done, yours look terrific!!


Frequently asked questions
Have a question about this project?
Such beautiful results! I want to do this in my kitchen for a backsplash. How did you apply the rock hard putty? Do you think it will help create a moisture "barrier" behind the sink?
What color paints did you use for the bricks?
I don’t suppose you would have a list of all the steps, would you? I absolutely LOVE the way this turned out. I really want to do this on a wall like now. 😄I just would like to know if you painted the wall first then taped off the bricks?