


How to Create Unique Wall Sconces With a Plunger and Funnel

Looking to add a touch of personality and style to your home?
In this step-by-step guide, I'll show you how to create unique wall sconces using everyday items you probably already have lying around.
Not only are these DIY sconces budget-friendly, but they also offer the flexibility of wireless placement, making them perfect for any room in your home, indoor or out.
This post was transcribed by a member of the Hometalk editorial team from the original HometalkTV episode.
Tools and Materials:
- Plunger
- Funnel
- One by six wood planks
- Rust-Oleum black spray paint
- Hot glue gun
- Battery-operated puck light
- Black screws
Hometalk may receive a small affiliate commission from purchases made via Amazon links in this article but at no cost to you.
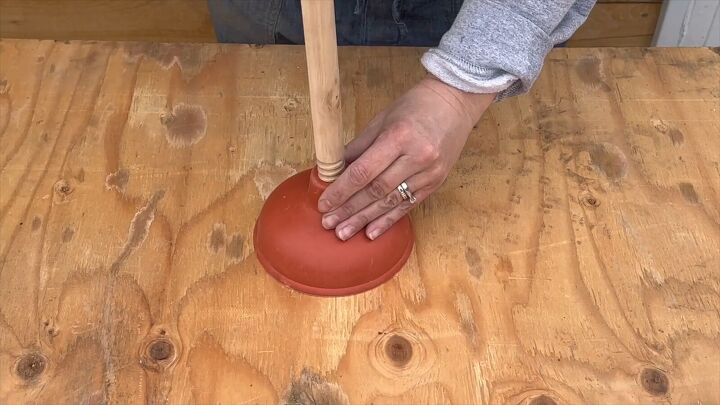
1. Prepare the Plunger Arm
The unique wall sconce begins with repurposing a humble plunger.
Start by removing the wooden stick from the plunger.
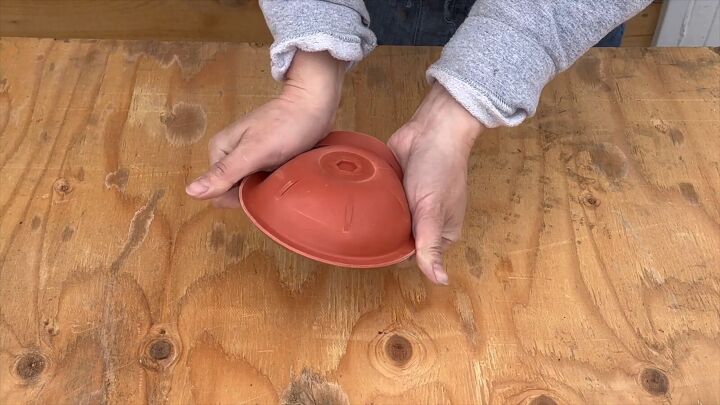
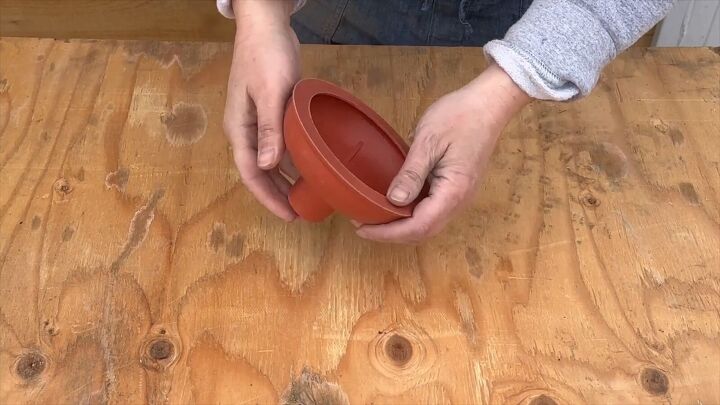
Flip the rubber end inside out.
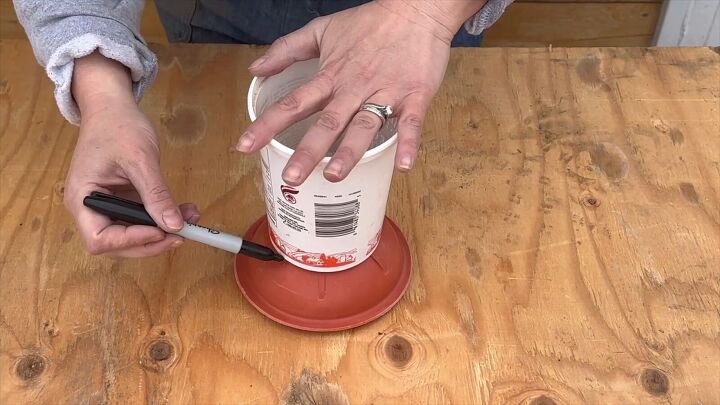
Use a sour cream container or any circular object as a guide to draw a circle on the top of the rubber end.
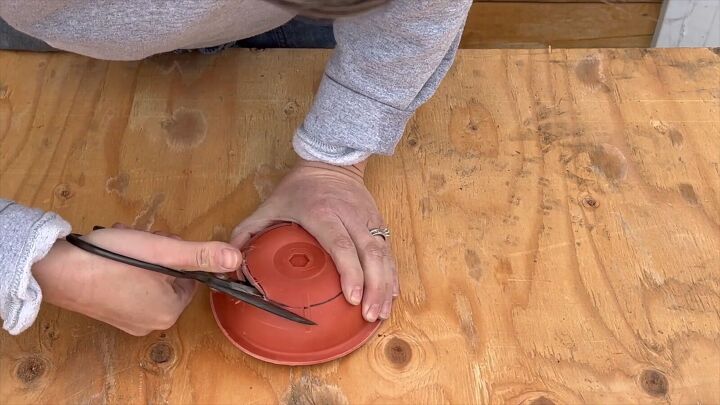
Carefully cut out the circle and trim the edges for a neat finish.
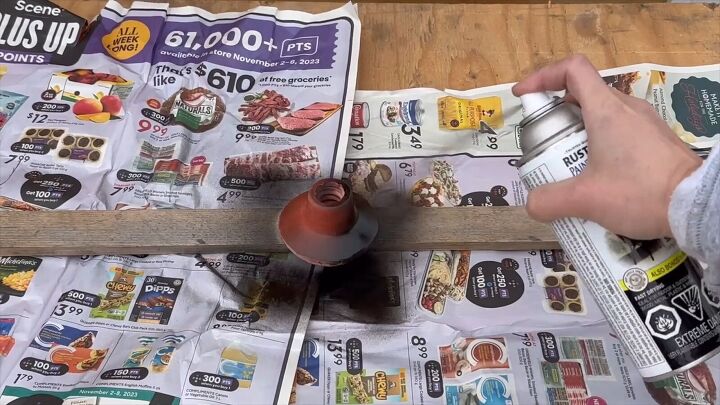
2. Paint the Plunger Arm
Place the cut-out rubber piece on a newspaper and apply Rust-Oleum black spray paint evenly. Allow it to dry thoroughly while you move on to the next step.
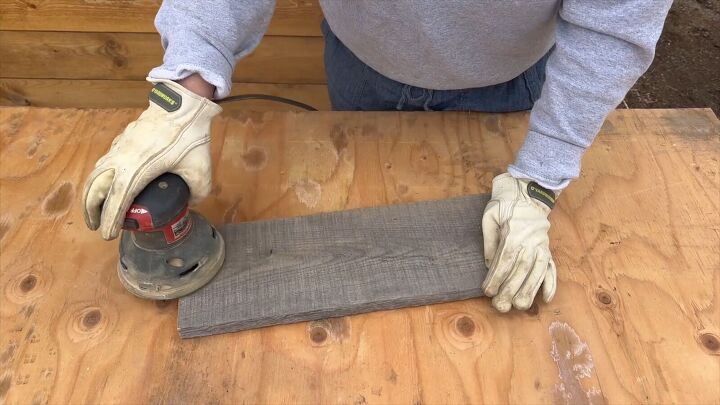
3. Construct the Backplate
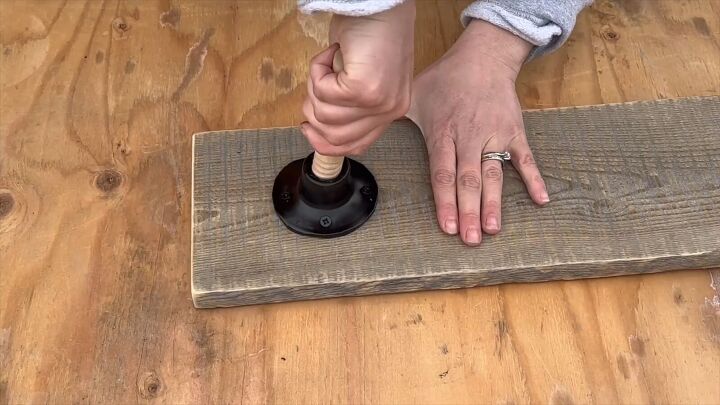
Cut and sand one by six wood planks to create the backplate for your sconce.
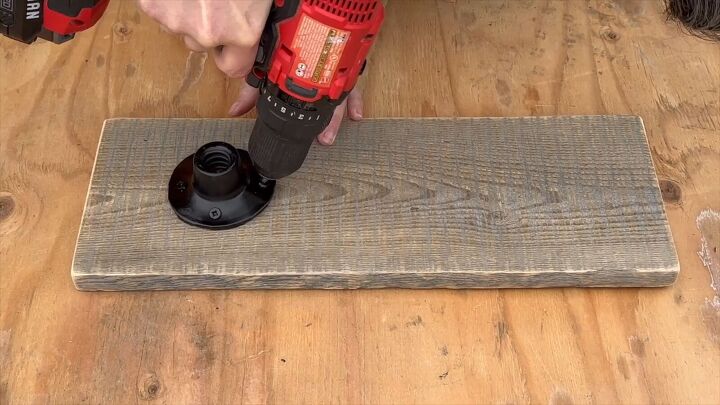
Attach the painted rubber plunger arm piece to the wood with four black screws. This will serve as the base of your farmhouse wall sconce, providing stability and rustic charm.
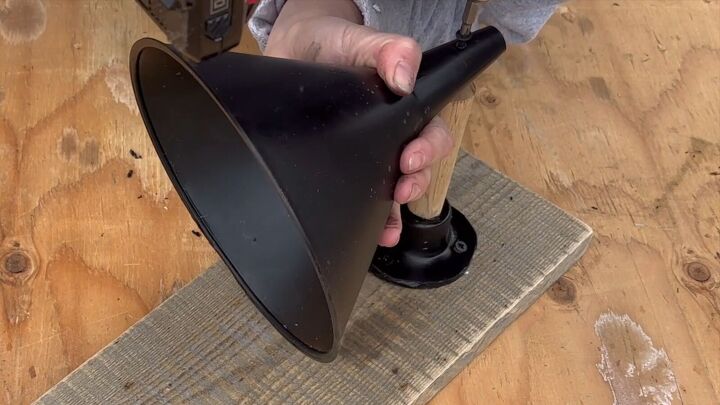
4. Assemble the Shade
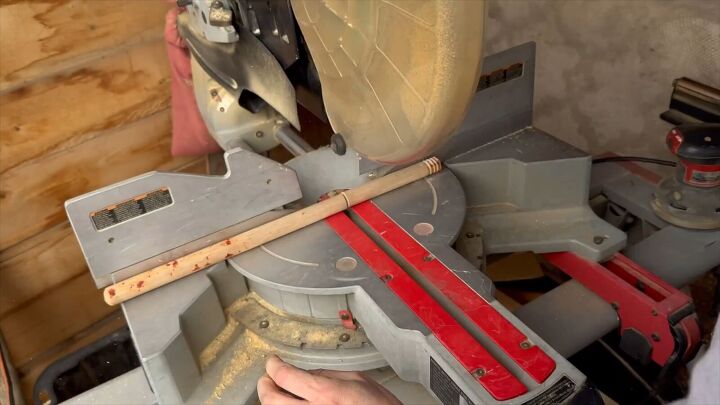
Now, let's work on the shade. Cut down the wooden plunger handle and screw it into the plunger part attached to the backplate.
This creates a sturdy arm for attaching the shade.
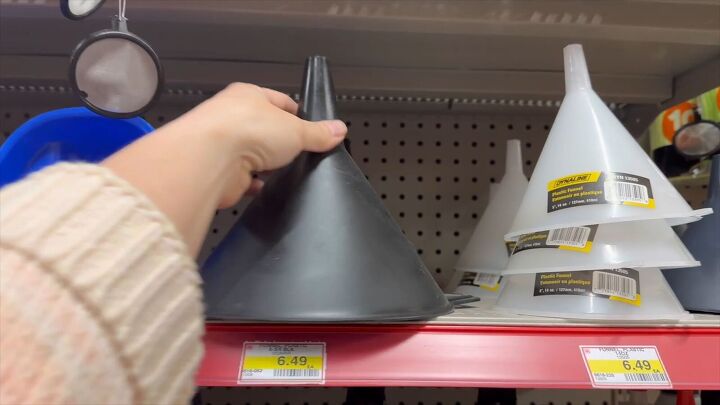
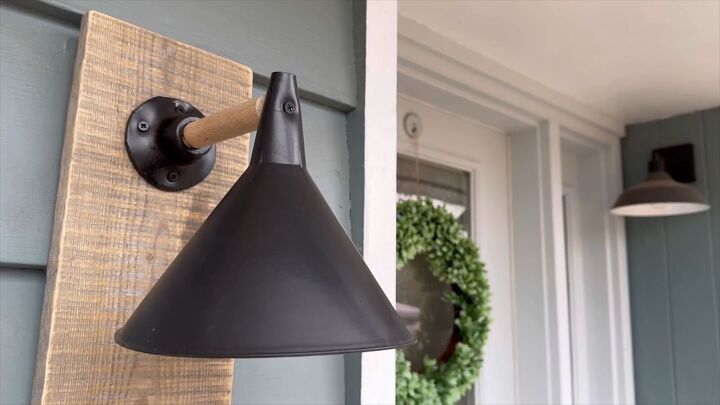
5. Attach the Funnel Shade
Grab a funnel and remove the tag on the edge.
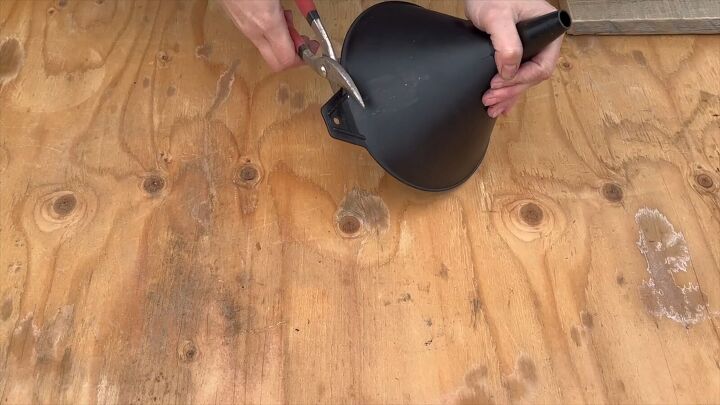
Predrill a hole.
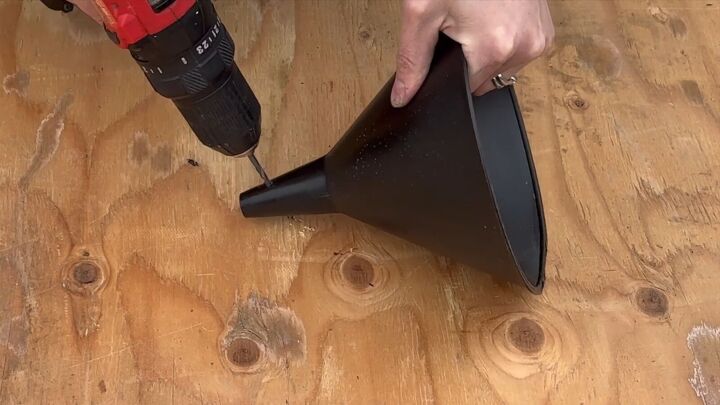
Using another black screw, attach the funnel to the wooden plunger handle. Make sure it is securely fastened.
You now have the structure for your lampshade wall sconce.
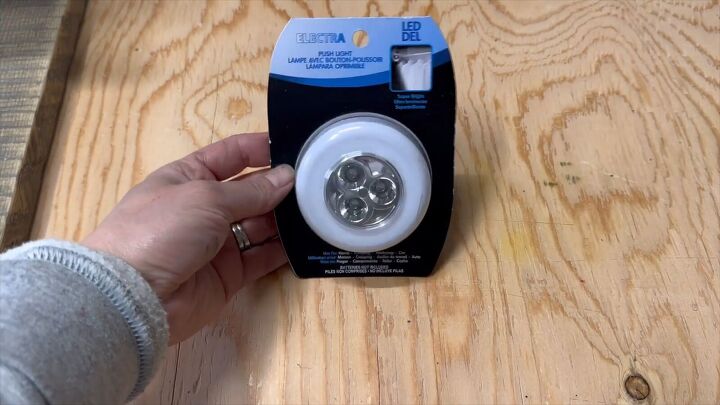
6. Add Lighting
Apply hot glue inside the funnel and insert a battery-operated puck light.
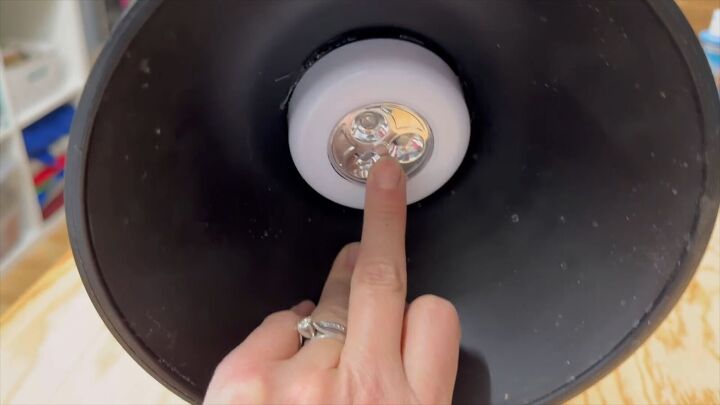
The wireless design of this sconce means you can place it anywhere without worrying about electrical points.
Enhance your lighting game even further!
Unique Wall Sconce Tutorial
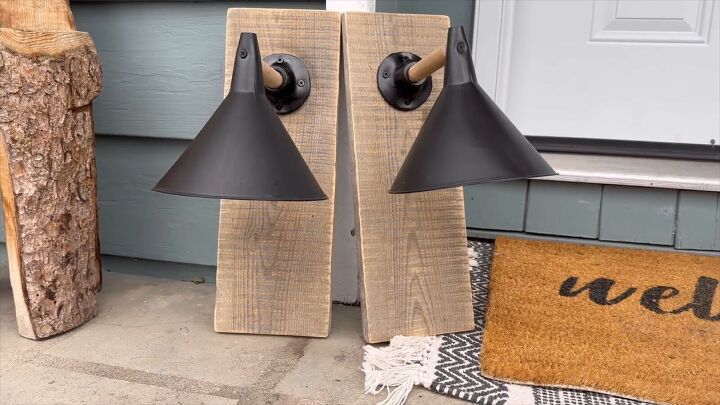
And there you have it! In just a few steps, you've created a simple wall sconce using items you likely already had at home.
Despite the inexpensive materials, the outcome is high-end and adds a touch of rustic charm to any space.
Whether you're looking to brighten up your front entrance or add ambiance to your living room, these farmhouse wall sconces are sure to impress.
Comments
Join the conversation
-
I truly Love this idea. I have those puck lights under kitchen cabinets and they're easy to replace batteries.
-
Hello, You gave us all the finger. (#6)Did not, even show us a smile!Well hopefully next time (or article. ;)


Frequently asked questions
Have a question about this project?