


Easy Wooden Crate Planter: How to Create a Colorful Oasis
Transform your outdoor space, no matter the size, with this charming wooden crate planter project.
Perfect for adding a burst of color and a touch of nature, you can create your own beautiful planter to brighten up your balcony, patio, or yard.
This post was transcribed by a member of the Hometalk editorial team from the original HometalkTV episode.
Hometalk Recommends!
Whether you're an experienced DIY enthusiast or a novice crafter, this project is sure to provide hours of enjoyment and a sense of satisfaction as you watch your plants thrive in their new home
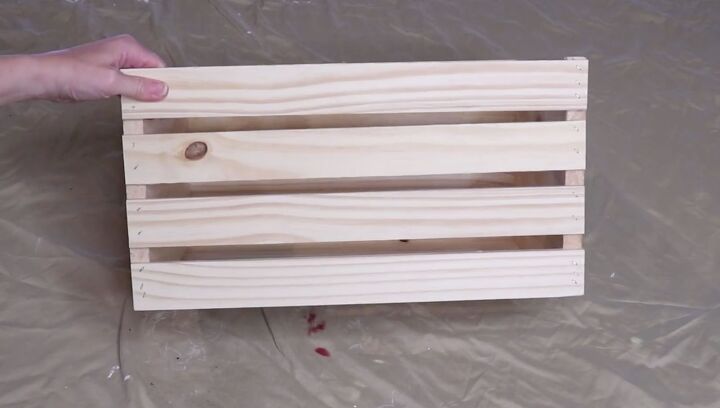
1. Gather your crates and materials
To get started, you're going to need six plain wood crates. You can pick these up at any big box store or craft store.
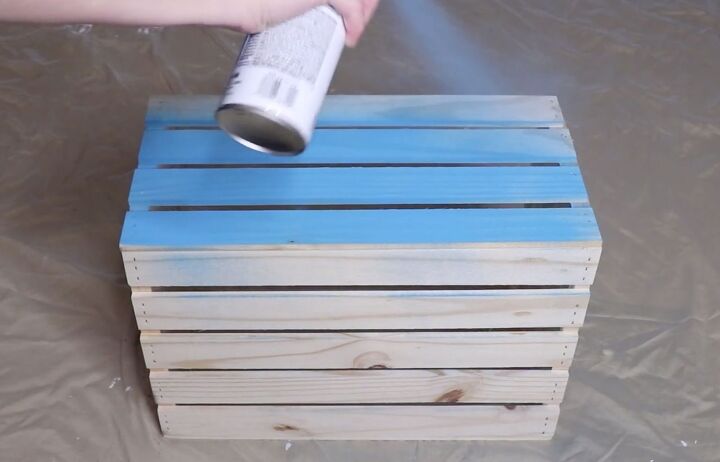
2. Paint your crates
You want to spray paint them in three to five different colors. Be sure to paint all the sides of the crates but you don't need to paint the inside or the bottom. To start, I painted two of my crates teal.
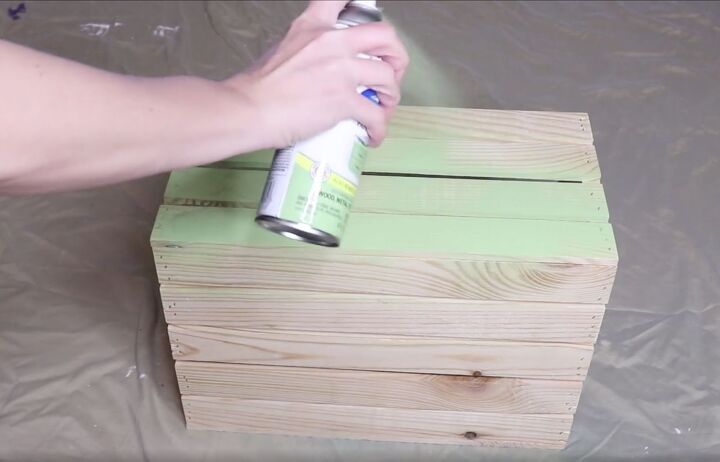
I also used spray paint to paint two a light green.
I painted my last two crates white.
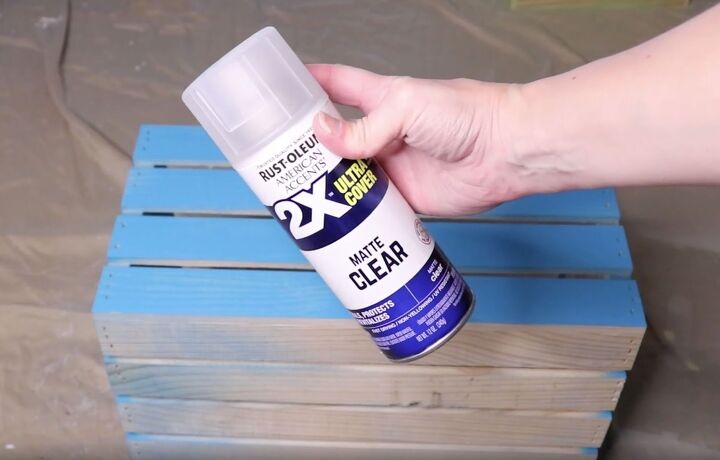
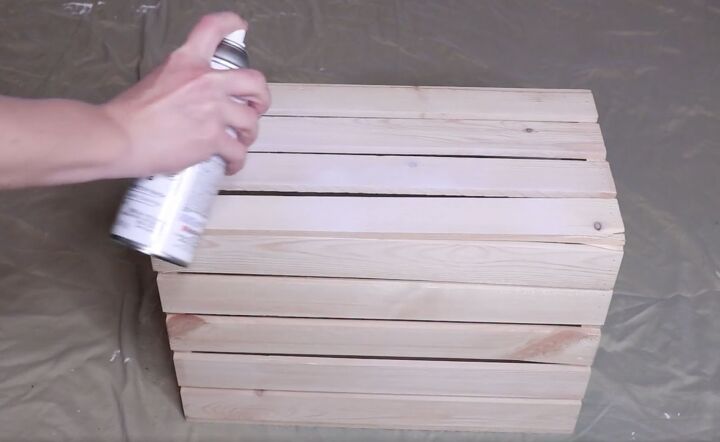
3. Seal Crates
Once the paint is dry, you want to seal the crates. I used a clear sealer in a spray can.
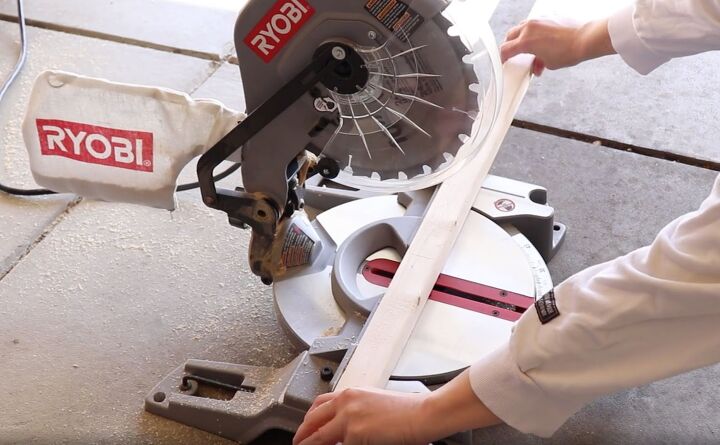
4. Cut and Stain the Support Pieces
Next, you need something to make this into a vertical planter. I grabbed some two-by-two pieces of wood and cut them down to size.
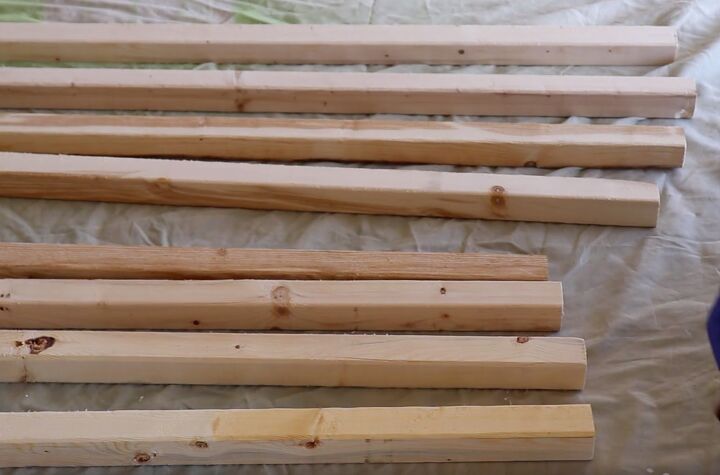
You need four pieces at 44 inches and four pieces at 34 inches.
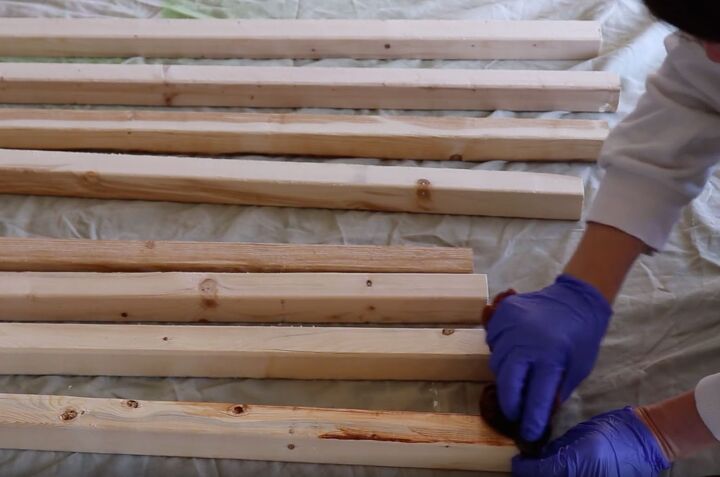
Then you're going to sand down the edges and stain your support pieces. I chose a saddle-colored stain; it looked really nice with the colors I chose.
Depending on the layout of your planter and how big your space is, you may have to adjust the measurements for your project.
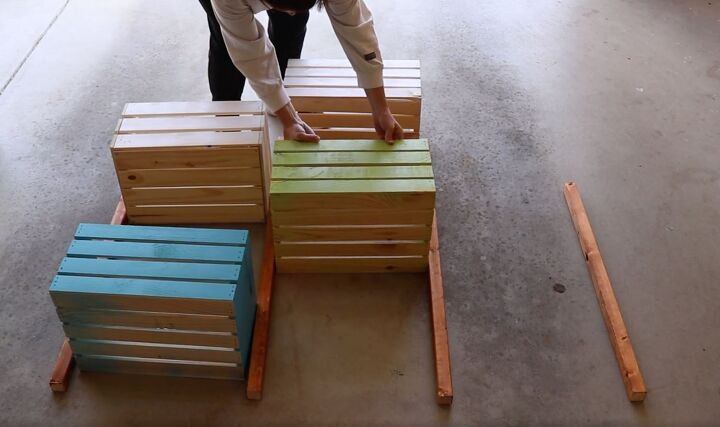
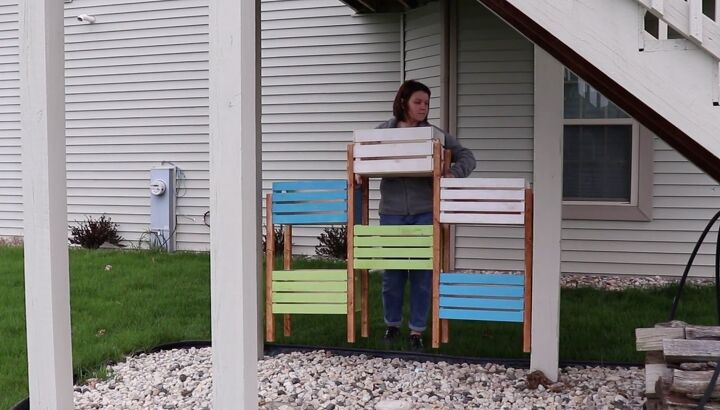
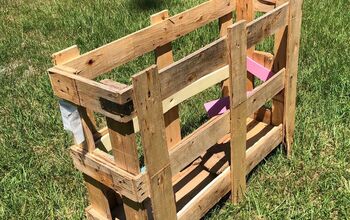
5. Assemble the Planter
Once the stain and paint are dry, it's time to lay this out and fit everything together.
You want to make sure that you leave a little room so that this can stand up off the ground and the crates aren't sitting right on the ground. You also want a good amount of space between the crates so you can add some plants.
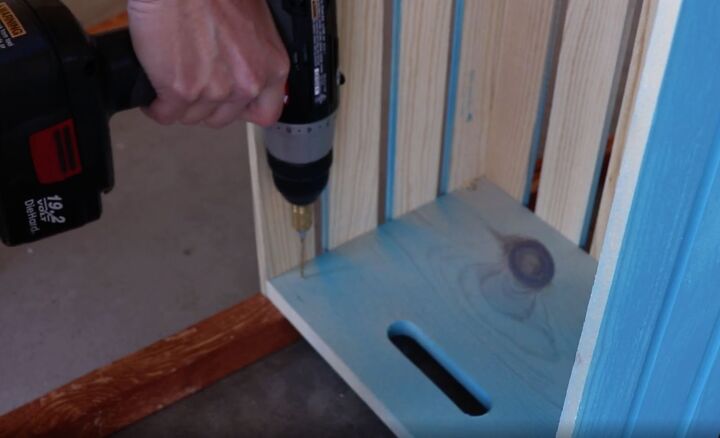
Then, using a drill, add several pilot holes to each side of the crate that will be attached to the two-by-twos.
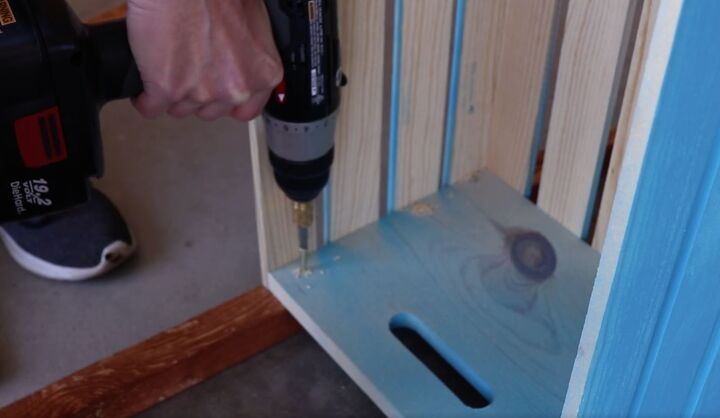
Use two-inch screws to hold everything together.
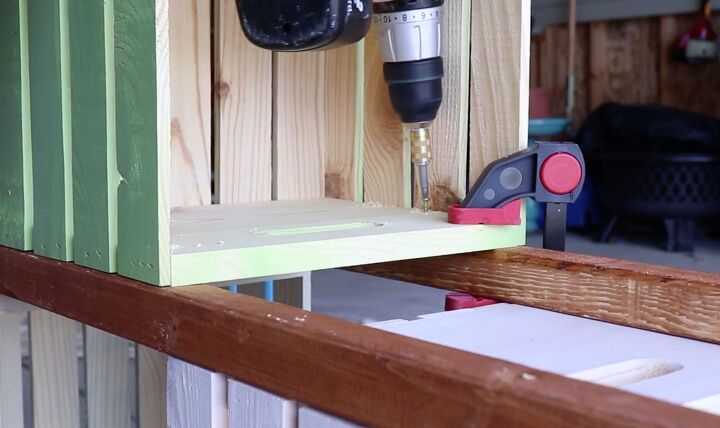
For some of the more difficult areas, you may want to use some wood glue and clamps to help everything stay in place.
Assembling this piece horizontally works really well because you're able to stack the crates on top of one another to get some good leverage when adding in those screws.
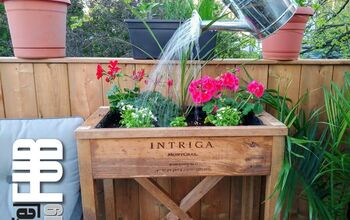
6. Add Plants to the Planter
Once everything is assembled, it's time to put it in place. I placed this large vertical planter between two posts. It’s a nice shady area that gets a few hours of sun a day, so I know that I'm going to be able to plant some flowers, ferns, and shrubs in these boxes. I can even do some vegetables as we go further into the summer.
Depending on where you are placing yours, you may want to secure it to something around it for stability.
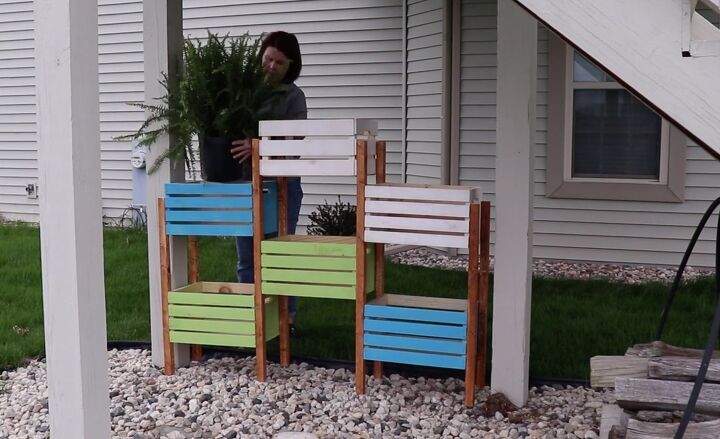
We were still early in the season where I live, so for right now, I added some potted ferns to my planter. In a couple of weeks though, I'm going to be able to line the crates with landscape fabric, fill them with soil, and add in all kinds of plants.
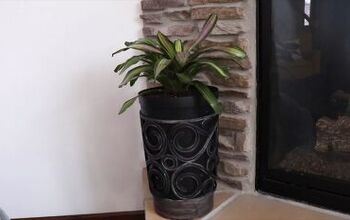
More DIY Outdoor Decor
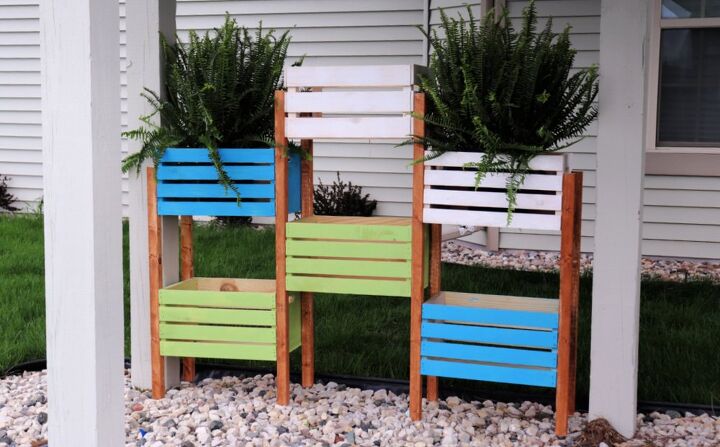
Wooden Crate Planter Tutorial
This vertical crate planter DIY is a fantastic way to add some life and color to your outdoor space.
With just a few simple steps, you can create a stunning planter that's sure to turn heads and impress your guests.
So why not give it a try? I'd love to see how your project turns out, so please share your thoughts and photos in the comments below.
Resources for this project:
See all materials


Comments
Join the conversation
-
Hi Amy,
Like your idea about metallic colors.
-
Love it might try that next year for my vegetables


Frequently asked questions
Have a question about this project?