


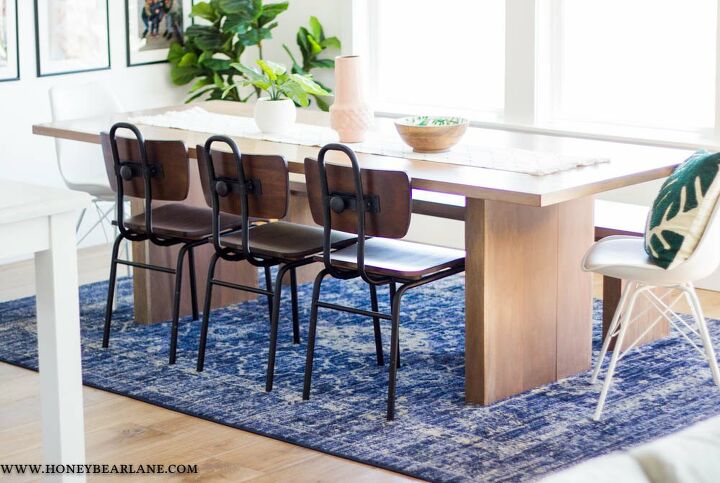
West Elm Inspired Dining Table
This project has been a few years in the works. A long while ago, my friend was talking about how she hated her kitchen table and she wanted one from West Elm but the ones she liked were out of her price range. I offered to take on the challenge and build her her own West Elm inspired dining table.

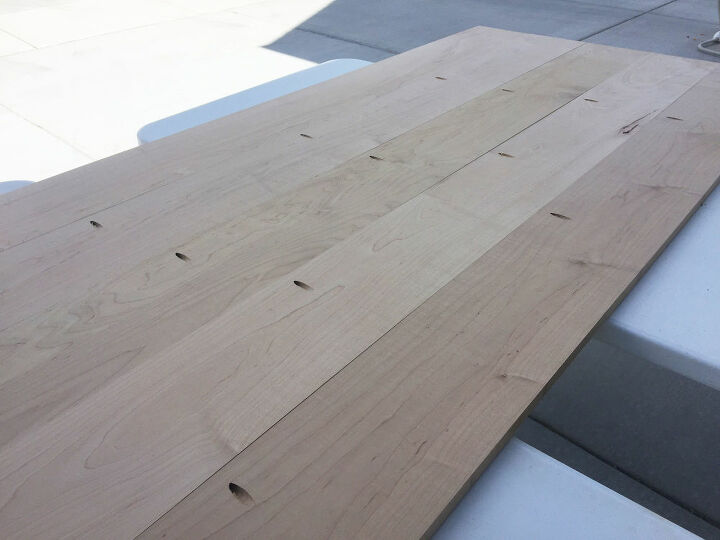
TABLE TOP: First I put together the table top. Lay out your table top boards side by side and find the best arrangement for them. Cut them all to the exact same length if you need. Flip the boards over and drill pocket holes every 12 inches or so. Then use wood glue and 1 1/4″ pocket screws to attach the boards together. I used large clamps for this and it really helps.
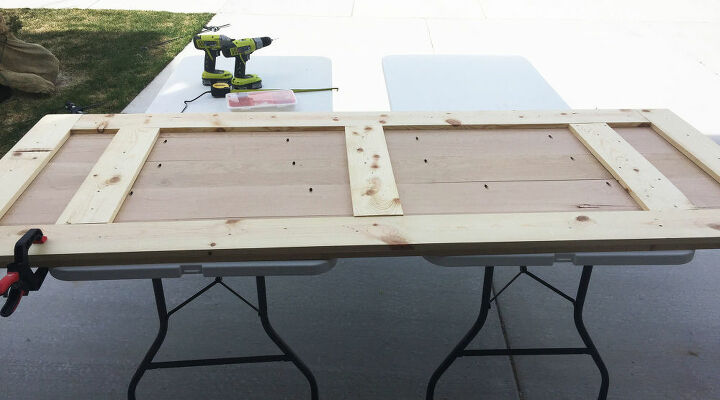
After the basic planked top is put together, You can construct a frame on the bottom side for extra support. I used cheap pine boards for the frame and screwed it in with 1 1/4″ wood screws. I made a frame go along the outside edges, and then had three boards across the middle.
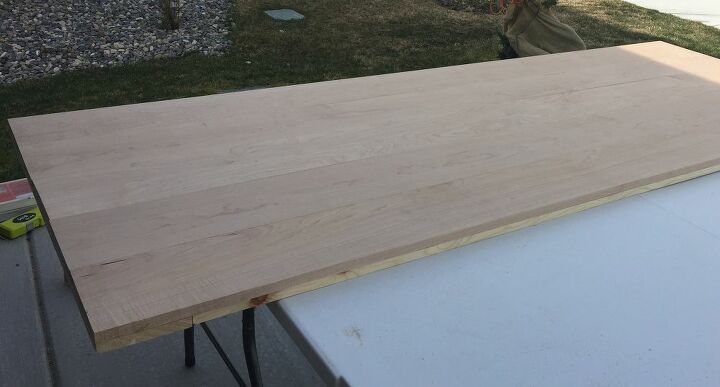
Here’s the view from the top side:
Having the cheap frame under the tabletop makes it sturdier but also helps support the side trim you’re going to add later.
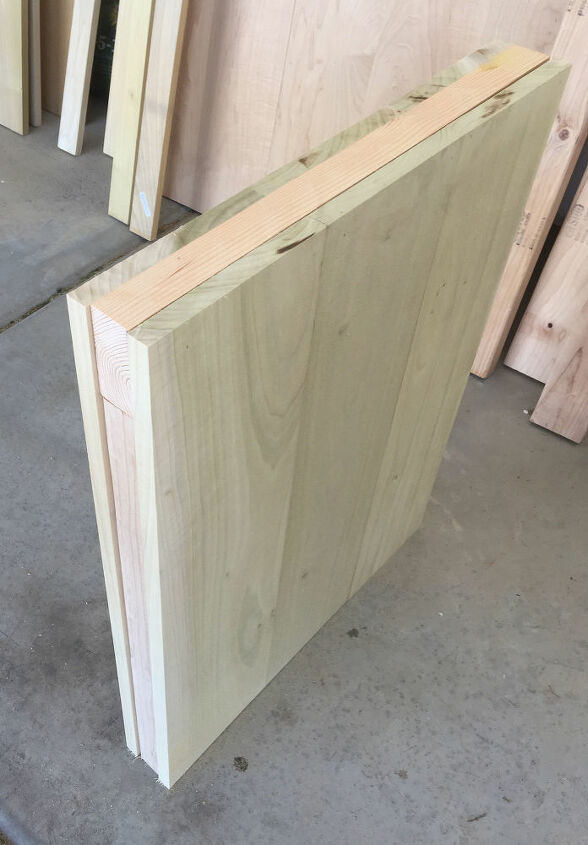
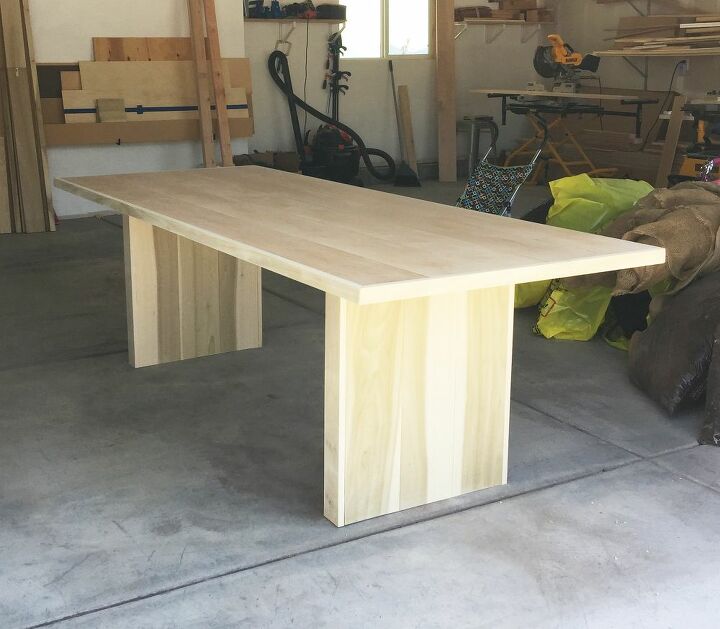
LEGS: The legs are made from a 2×4 frame and then trimmed out on all sides with poplar planks.
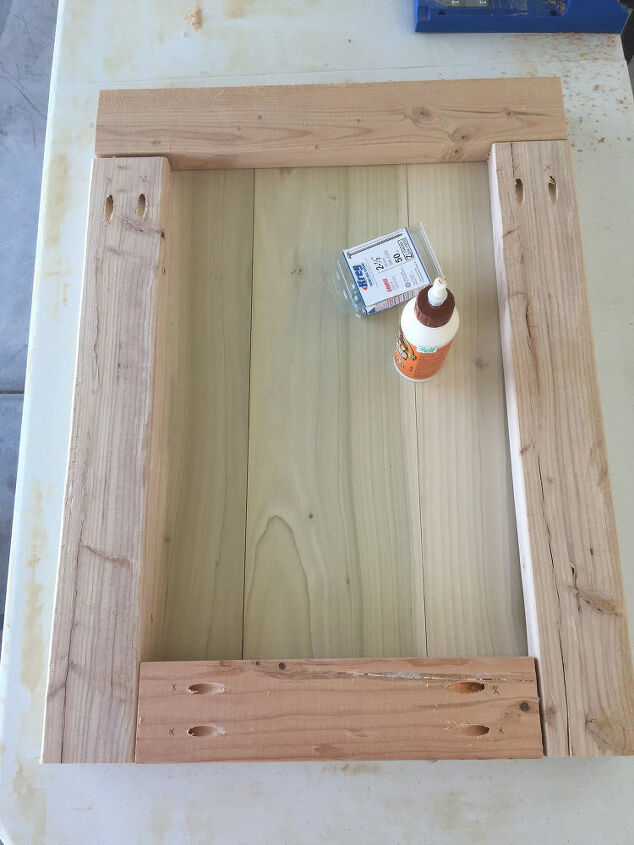
Next construct the legs. Use a Kreg Jig to drill pocket holes and assemble rectangular frames from 2x4s. Then cut 1×8 wood and square it up by pushing other wood planks perpendicular on either side. Glue and nail the wood on the top and bottom. Place the 1x4s on either side and mark lengthwise where it needs to be trimmed. Use a table saw to rip off about 1/4″ of each board (but measure measure measure!) Then nail the sides on. Again, clamps are your best friend.

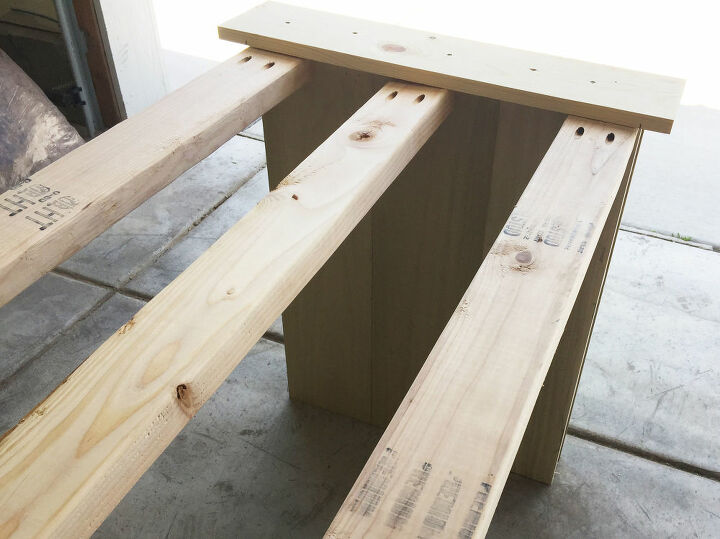
Turning the legs upside down, add three stretcher boards in between the legs, attaching them to the top of the leg (it’s lying on the floor because it’s upside down remember) Attach them to each leg using pocket holes. Then flip the entire thing back upright.
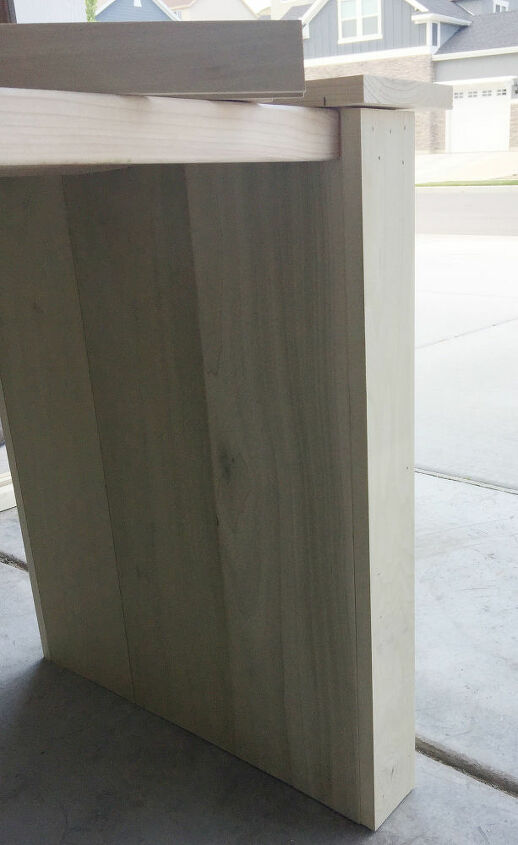
Top the legs with a 1×6 board cut to x inches. Center the board and line the edge up with the edge of the leg. Then screw in some 1 1×4″ screws to secure it into the leg and into the stretcher boards.
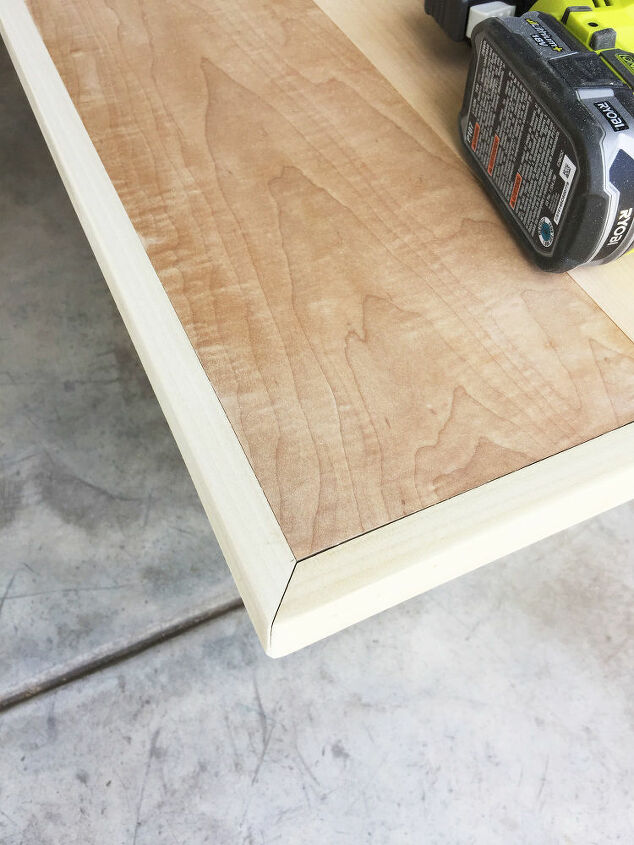
Use the 1x2s to trim out the tabletop. You can miter the corners if you like or just leave them straight. Mitered looks more finished but is a little more advanced. Use a nail gun to attach the trim.
Please finish your work with polyurethane so it stays beautiful and protected! Also check out this weathered wood tutorial for a cool way to finish wood.
I love how this West Elm inspired table turned out, and it was so fun to build!
For more DIY tutorials, visit https://www.honeybearlane.com.
Resources for this project:
See all materials


Comments
Join the conversation
-
I think it will be a project in my future. Thank you
-
I LOVE IT!!! BEAUTIFUL


Frequently asked questions
Have a question about this project?
You list your cost for the project as $0. Did you have the wood and other materials on hand?
where did you get the wood and metal chairs/
I’m currently making this table- it looks beautiful. However, the cut list is all wrong:/. I just waisted a bunch of material;(. Please, review and update, for the next person! What stain did you use?